
With ClickFunnels 2.0, you can now use your favorite funnel-building tool to create a full-fledged website — and even run a blog. But if you’re new to ClickFunnels or you’re used to the old version, now dubbed ClickFunnels Classic, figuring out how to run a blog may require some guidance.
Don’t worry, though, I’ve got you. In this tutorial, I’ll show you how to draft and publish a blog post in ClickFunnels 2.0, step by step and with screenshots so you can follow along. If that sounds like what you came here for, then welcome, and I invite you to read on.
Creating a Blog Post in ClickFunnels
Follow the steps in the guide below to create your first blog post in ClickFunnels 2.0. It’s a little tricky if you’re doing it for the first time — okay, I’ll be honest with you, it’s very tricky — so make sure to pay attention from step 7 and on.
Step 1: Fire up your web browser, go to myclickfunnels.com, and sign into your ClickFunnels 2.0 account.
Step 2: Open your site’s workspace and go to the “Site & Funnels” tab on the left sidebar.

Step 3: Wait for the page to load, then go “Blog.”
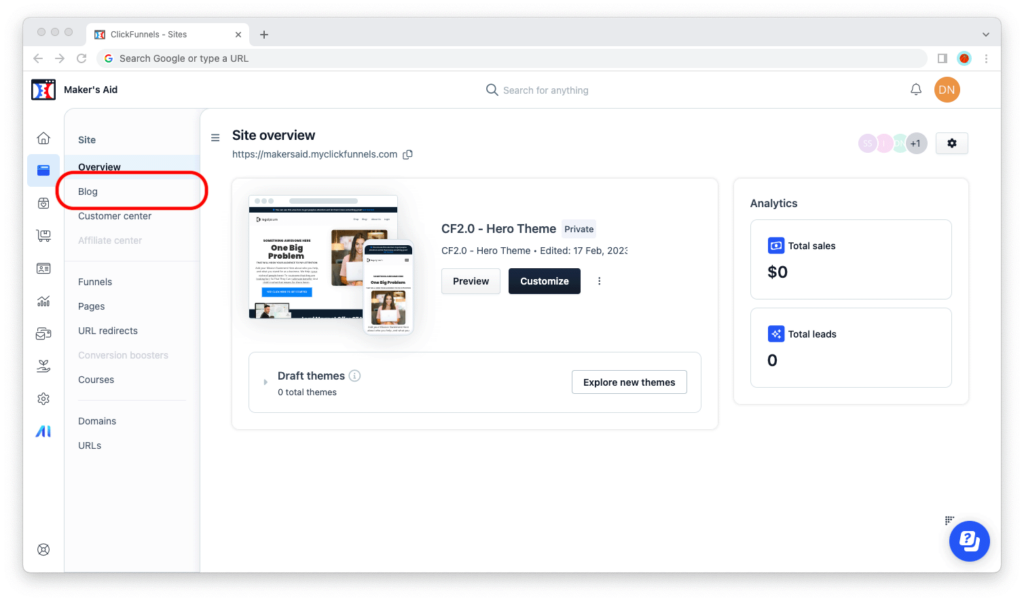
Step 4: Click on the “New Blog post” button in the upper-right corner of the screen to create a draft blog post.

Step 5: You’ll see a loading screen, and the blog post editor will load. To create a draft blog post, enter a title. You can fill out any other field you want, but the title is the only one required to create a draft.

Step 6: To save your draft blog post, click on the “Create post” button in the upper-right corner of the window.

Don’t worry, this won’t publish your blog post. As long as the radio box under “Visibility” is set to “Draft,” your blog post will be saved as one, and it won’t go live. But if you skip this step, you’ll lose everything when you close the tab, and then you’ll have to start over.
Step 7: Now here’s where it gets confusing… After you click on the “Create post” button, ClickFunnels 2.0 will create a draft blog post and open the visual editor. But the visual editor won’t load the draft blog post; it will load your blog’s homepage!
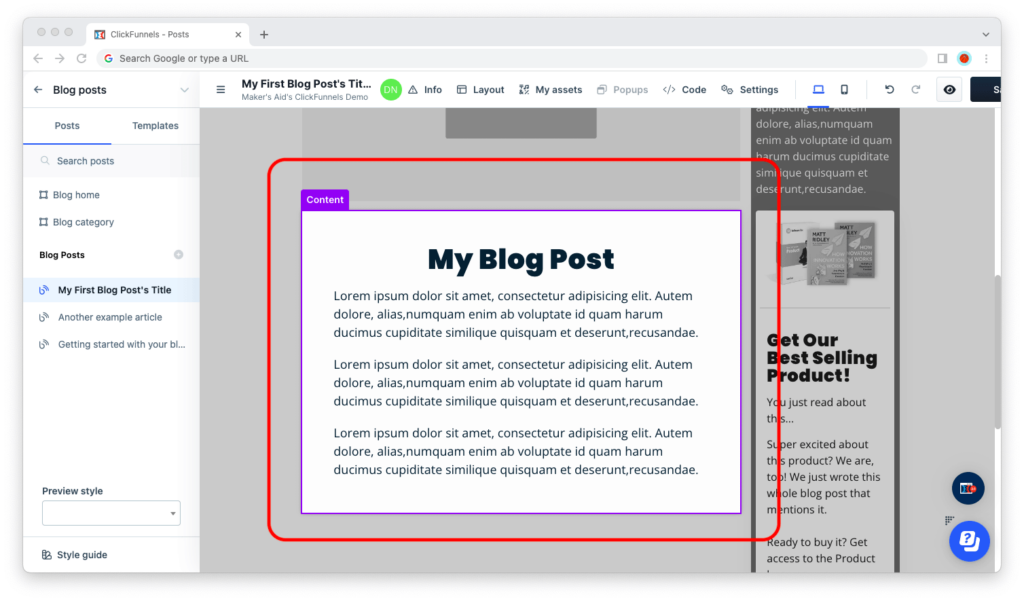
Find your blog post’s title on the left sidebar and click on the title to open it for editing.

If the title isn’t clickable, exit the visual editor by clicking on the left arrow icon (←) in the upper-left corner of the window.

This will take you back to the list of posts on your blog. Now click on your blog post’s name to open it for editing again.

Step 8: Edit your blog post’s content using the ClickFunnels 2.0 visual editor. The purple area that says “Content” when you hover your mouse over it is editable, and that’s where your blog post’s content goes. Everything else that’s grayed out isn’t.
Step 9: When your blog post’s ready to publish, hover your mouse over the title in the left sidebar and click on the little gear icon that says “Edit.”

Step 10: Change “Visibility” from “Draft” to “Public”.

Step 11: Although you can skip this step, it’s good to add a featured image, an SEO title, meta description, and page path, an author, and a category and/or tags. (Having these will help your blog post rank better in Google.)
Step 12: Click on the “Save & Close” button. This will publish your blog post.

You’re all set!
You’ve just published your first blog post in ClickFunnels 2.0. If you have any questions, leave a reply below.