Did you know that Google Docs has a horizontal and vertical ruler, which lets you adjust the page margins and the width of cells and height of rows in your tables?
In this tutorial, I will show you how to enable the horizontal and vertical ruler in Google Docs, as well as how to use it to adjust your document’s margins and tweak the height and width of your tables’ cells.
How to Enable the Ruler in Google Docs
Follow the steps below to enable the horizontal and vertical ruler in Google Docs.
Step 1: Fire up your web browser and go to docs.google.com.
Step 2: Create a new document, or open the document you’d like to edit.
Step 3: Click on “View” in the top left corner, right under the document’s title, to expand the “View” options for your document.

Step 4: Click on “Show ruler.”

Step 5: You’re all set! A horizontal and vertical ruler will now show up under the top toolbar and on the left of the browser window.

How to Adjust Your Document’s Margins
To adjust your document’s margins using the Google Docs horizontal ruler, look for the blue arrows.

Click on the arrow that you want to move and, holding down the mouse, drag it left or right until you’ve adjusted the document’s margins to your liking.
How to Adjust the Height and Width of a Table’s Cells
You can use the ruler in Google Docs to adjust the height and width of adjacent cells in a table. Follow the steps below to learn how.
Adjust the Width of Adjacent Cells
To adjust the width of your table’s cells using the ruler, hover your mouse over the ruler where two adjacent cells meet.
When the cursor turns into a double arrow, left-click and hold the button down as you drag your mouse and adjust the cell’s width.

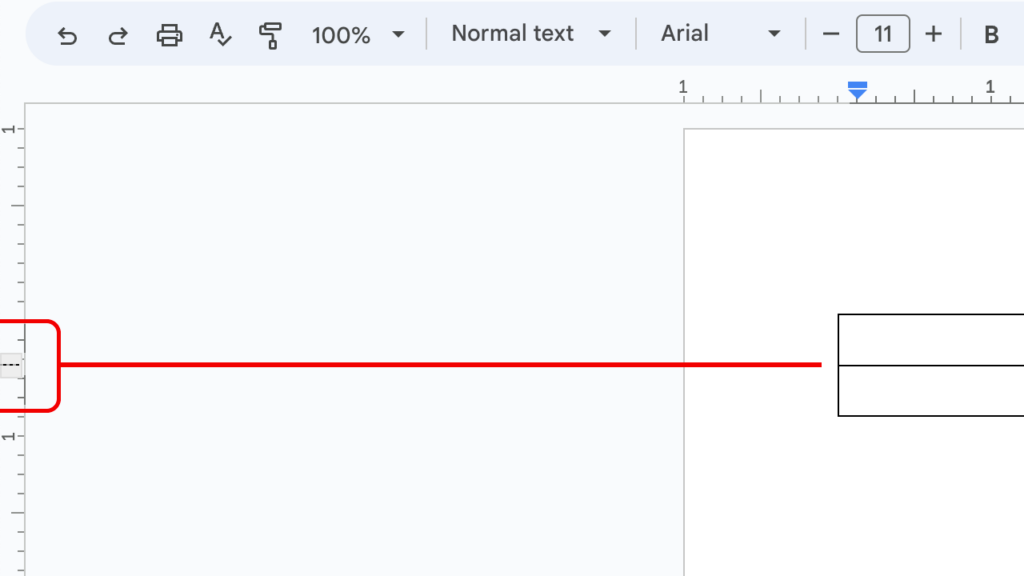
Adjust the Height of Adjacent Cells
To adjust the height of your table’s cells using the vertical ruler, look for the dotted button on the left of the screen. Click on it, hold down, and drag the mouse up and down as you adjust the selected row’s height to your liking.