Do you want to know how to create a circle photo in Canva?
I know I was when I was trying to figure it out for the first time! And the fact that there wasn’t much helpful information—if any—available online didn’t help, either.
Step 1: Go to canva.com or fire up the Canva app on your computer.
Step 2: Start by either creating a new design or opening an existing design where you want to add a circle photo.
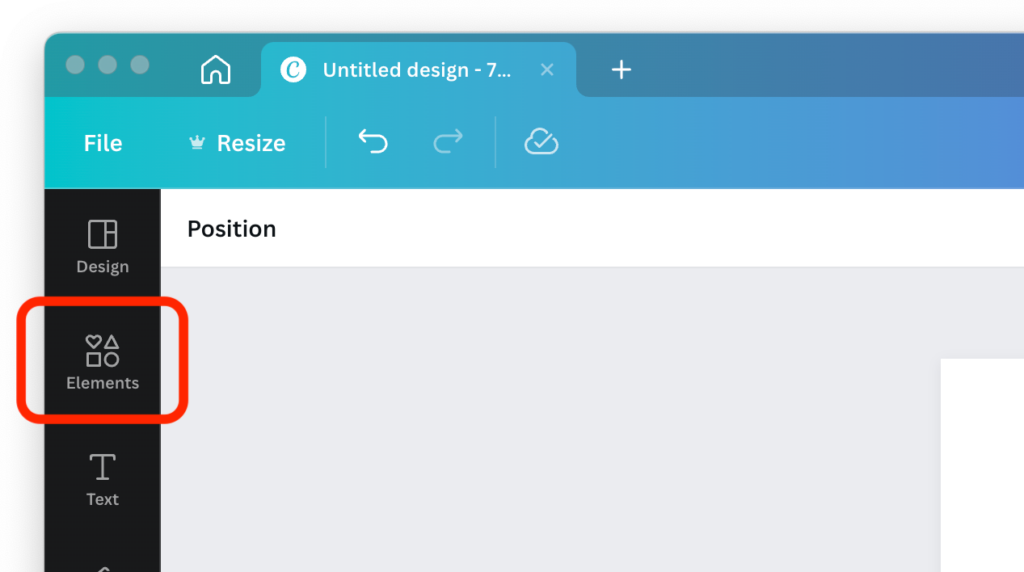
Step 3: Navigate to the “Elements” tab located in the left sidebar.
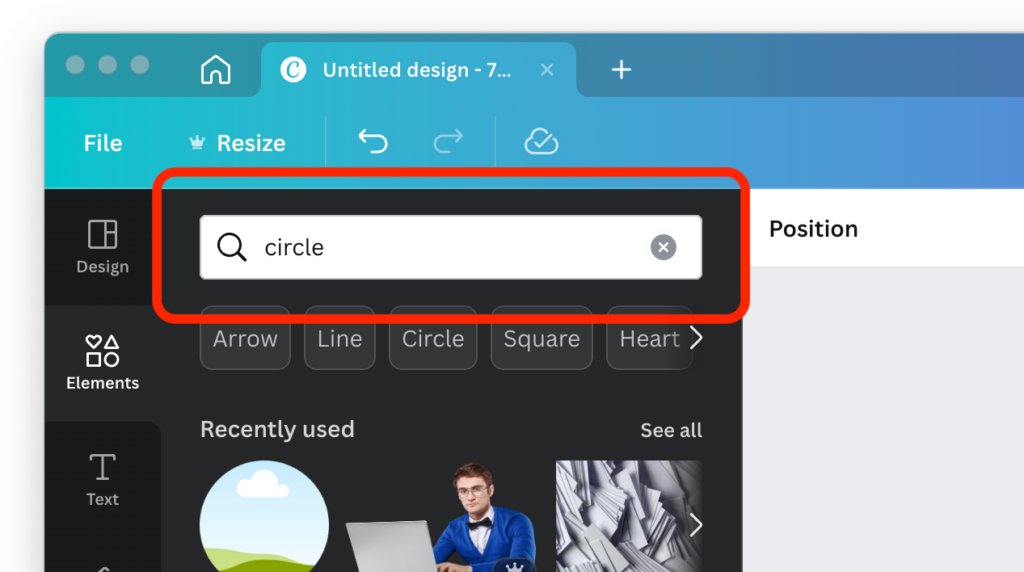
Step 4: Type “circle” into the search field and press the Enter key on your keyboard.
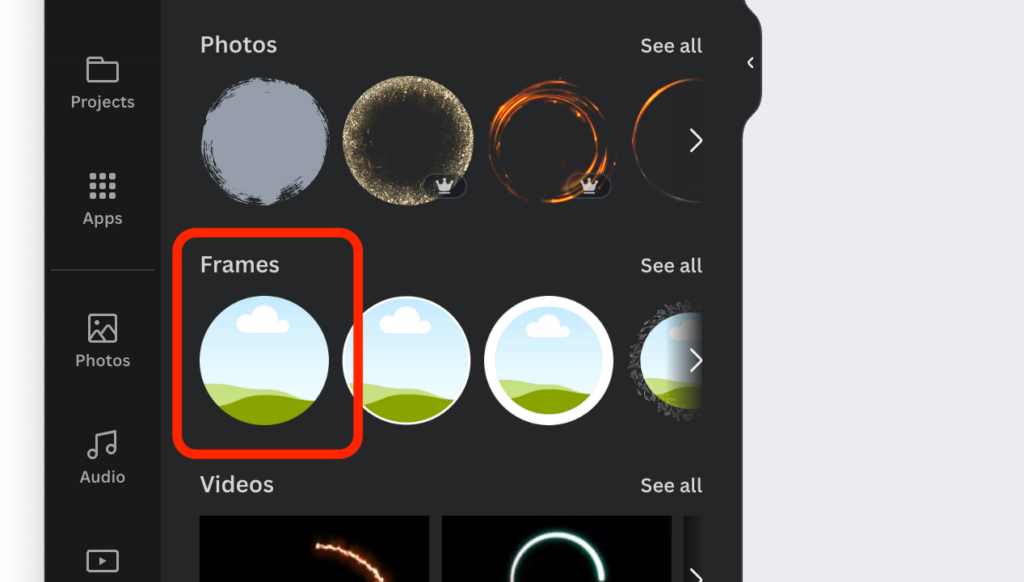
Step 5: Look for the circular photo under the “Frames” category within the search results. Once you find it, simply click and hold the photo, then drag and drop it to the desired spot in your design.
Step 6: Adjust the size and position of the frame as necessary.
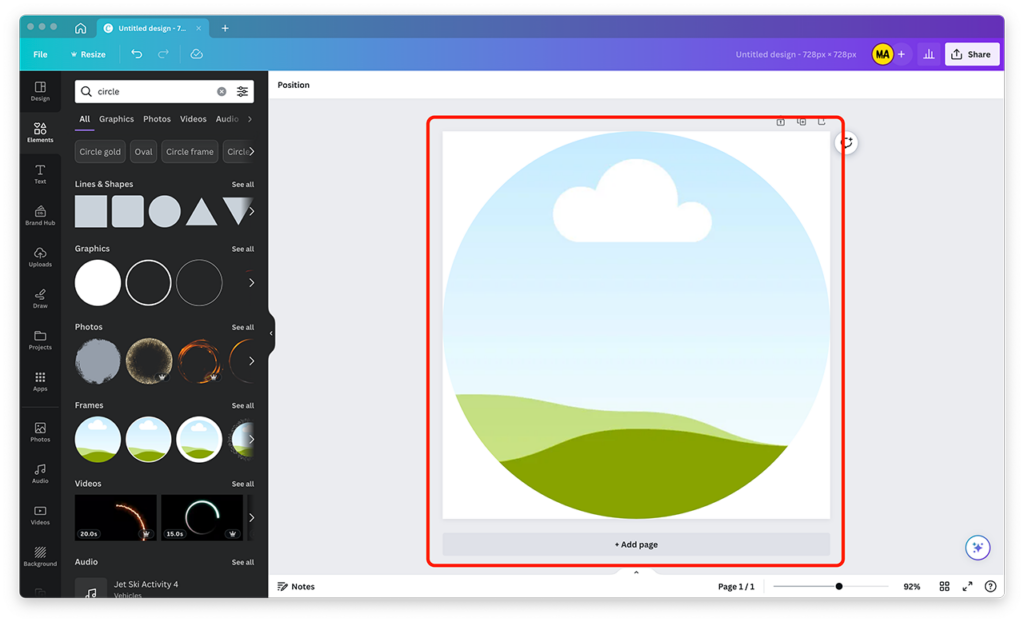
Step 7: Drag and drop your photo into the frame.
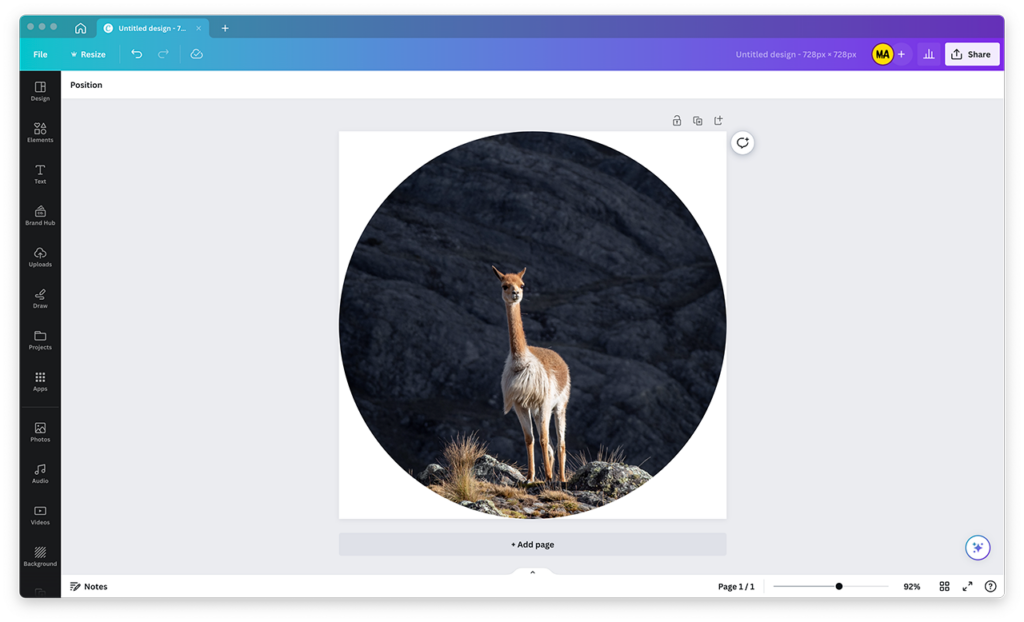
How to Download Your Circular Photo
To download your circular photo, click on the “Share” button located in the upper-right corner of the screen. From there, select the “Download” option. For the highest quality, select “PNG” under “File type.”
To download your circular photo with a transparent background, ensure that the “Transparent background” checkbox is ticked.
If you don’t check it, the photo will download with a white background (or the color of the background you’ve set in your design).
Bottom Line
Thanks for reading and I hope this tutorial helped!
Now, you know how to make a picture a circle in Canva. Remember, the trick is to put the picture in a frame rather than to try and crop it. And if you need the background to be transparent, download the design as a PNG with a transparent background.

