Frontends need time to render. Some render quickly. Others, because of render-blocking resources or the computing time required for JavaScript to manipulate the DOM, take more time to render than they really should.
Test automation tools like Selenium IDE, on the other hand, work fast. And the most common reason why test cases fail when they really shouldn’t is that the tool is trying to parse a DOM element or reference a JavaScript variable that hasn’t loaded yet.
Fortunately, Selenium IDE lets you solve for that problem by letting you add waiting times to the control flow of your tests.
Using the pause Command
To add waiting time in Selenium IDE, insert a pause command and enter the amount of time that you want the tool to wait, in milliseconds, in the “Target” field.
1 second equals 1,000 milliseconds, so you would need to enter a value of “1000” in the “Target” field to make Selenium IDE wait for 1 second after the previous command in the flow.
Here’s a screenshot:
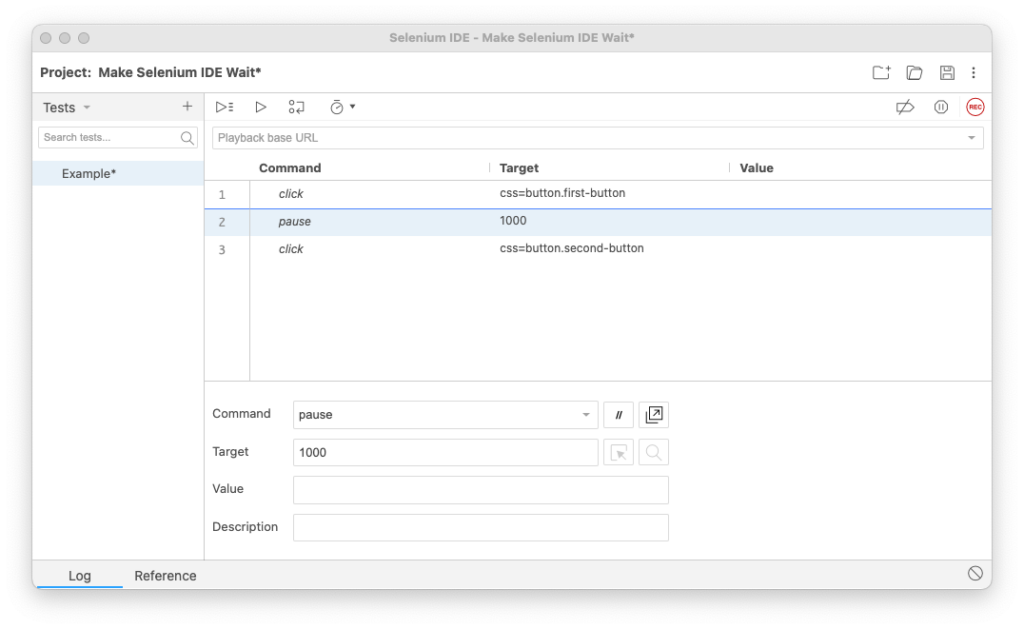
pause commandTo make it wait for 2 seconds, you’d need to enter 2000. 10 seconds would be 10000, 120 seconds would be 120000, and so on, and so on.
Using the wait for Commands
The problem with the pause command in Selenium IDE is that, even if you wait, Selenium has no way of verifying if what you’re making it wait for is there when the waiting time’s over and it continues executing the steps. Technically, you could always add more waiting time — but that doesn’t always solve the problem.
This is where the wait for commands in Selenium IDE come in.
Wait for Element Editable or Not Editable
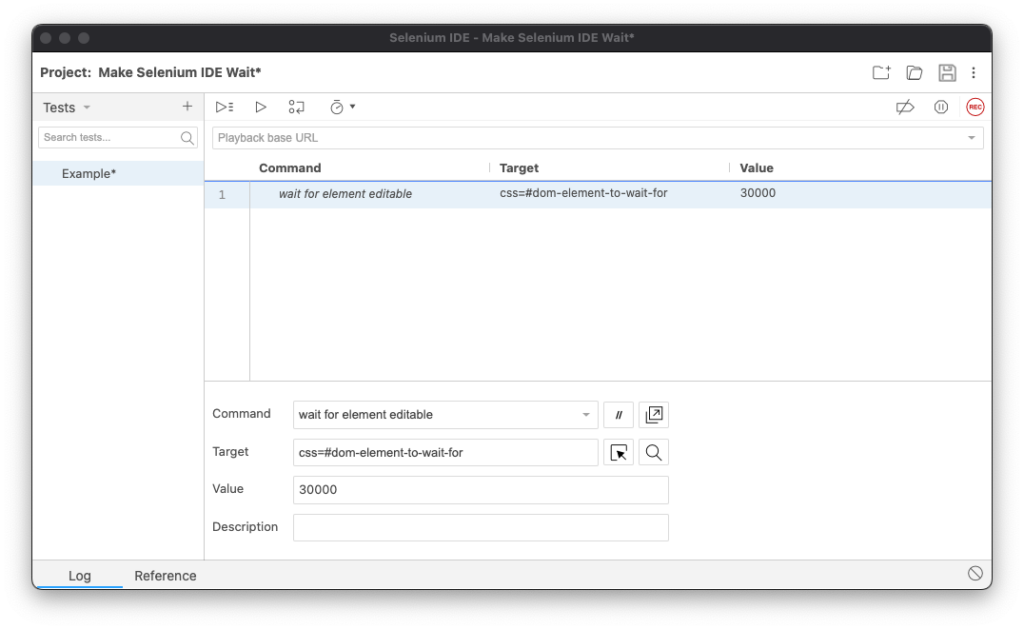
Wait for element editable instructs Selenium IDE to wait until the DOM element in the “Target” field is edible. Optionally, you can also set a maximum waiting time in the “Value” field, in milliseconds, before the tool continues to the next step in the test’s control flow.
Wait for element not editable instructs Selenium IDE to wait until the DOM element in the “Target” field is not editable (readonly). You can also set a maximum waiting time in the “Value” field, in milliseconds, before the tool continues to the next step in the test’s control flow.
Wait for Element Present or Not Present
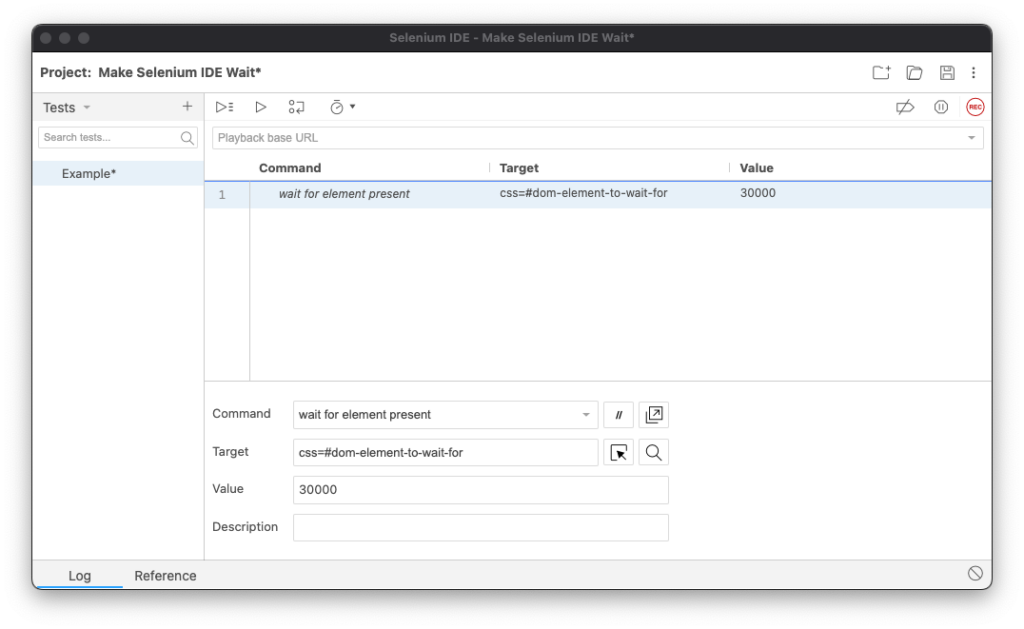
Wait for element present instructs Selenium IDE to wait until the DOM element in the “Target” field exists in the DOM. You can also set a maximum waiting time in the “Value” field, in milliseconds, before the tool continues to the next step in the test’s control flow.
Wait for element not present instructs Selenium IDE to wait until the DOM element in the “Target” field does not exist in the DOM. You can also set a maximum waiting time in the “Value” field, in milliseconds, before the tool continues to the next step in the test’s control flow.
Wait for Element Visible or Not Visible
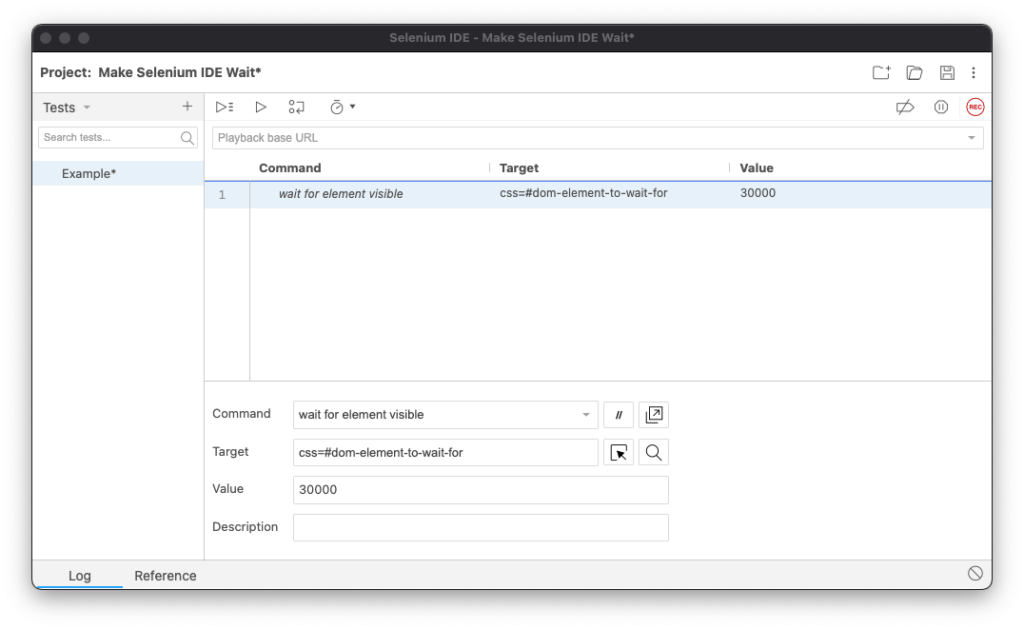
Wait for element visible instructs Selenium IDE to wait until the DOM element in the “Target” field exists in the DOM and is visible in the UI. You can also set a maximum waiting time in the “Value” field, in milliseconds, before the tool continues to the next step in the test’s control flow.
Wait for element not visible instructs Selenium IDE to wait until the DOM element in the “Target” field exists in the DOM and is not visible in the UI (has a CSS property of display: none or visibility: hidden). You can also set a maximum waiting time in the “Value” field, in milliseconds, before the tool continues to the next step in the test’s control flow.
Wait for Text
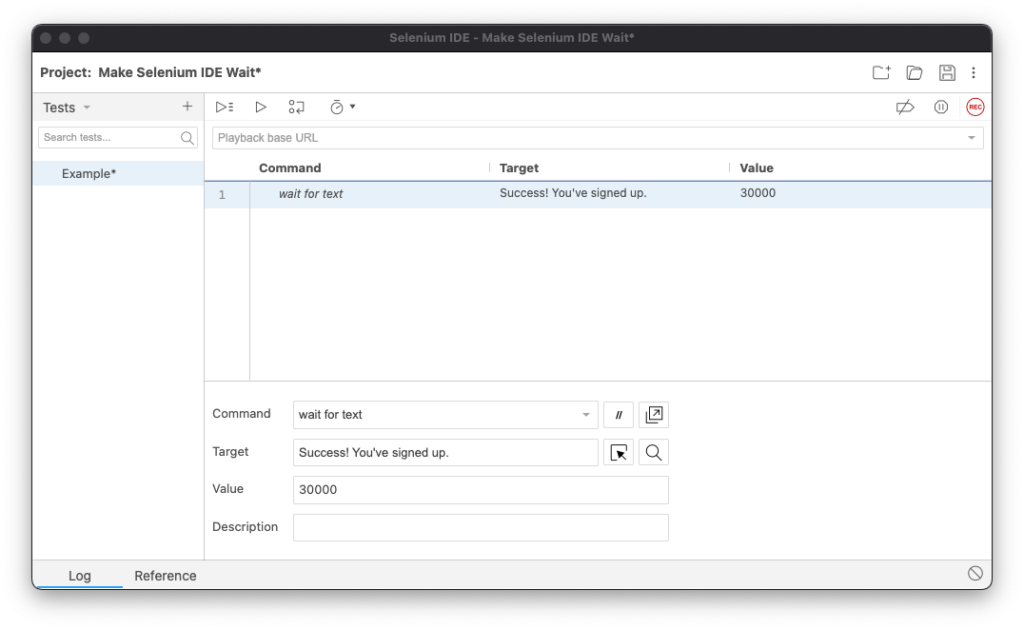
Wait for text instructs Selenium IDE to wait until the text string in the “Target” field exists in the DOM. You can also set a maximum waiting time in the “Value” field, in milliseconds, before the tool continues to the next step in the test’s control flow.


Show a working example, not just how to enter the commands