If it serves consolidation, it happens to the best of us.
You want to edit a single design element in your Photoshop document, and then you realize that it’s part of a layer that’s already been merged with some other layer for one reason or another.
So can you, or can you not, unmerge in Photoshop?
The long and the short of it is that it depends on the document. You may or may not be able to undo—or work around—this problem. So if and when you find yourself in such a situation, you should take a good hard look at all of your options.
Coincidentally or not, this is exactly what this post is about. If you want to find out the answer, read on.
You can only unmerge two layers in a Photoshop document if you just merged them, in which case you can easily reverse it by pressing Control + Z on a Windows PC and Cmd + Z on a macOS computer, or if you can still return to that step in the History panel.
Let’s look at two scenarios: the quick and easy solution, which will hopefully work out for you, and the lengthier workaround, that’s all but certain to work out for you when there’s no other alternative in sight.
The Quick and Easy Solution
So, before you move on to the rest of this post, check if you can:
- Revert the merge by pressing
Control+ZorCmd+Zon your keyboard; - Look up the merge in the History panel and, in case the answer to this question is “yes,” revert it.
Were you able to resolve your situation with any of the above solutions? Well, let’s just say you got lucky, which can’t be said for everyone reading this article!
If you didn’t quite make it, don’t worry. We have the solution for you, and we will share it with you in a moment.
The Lengthier Workaround
None of the above solutions worked out for you, huh? I’ve been there myself, too, and it ain’t nice, I can attest to that!
While it can certainly be frustrating to find yourself in such a situation, it isn’t necessarily difficult to get out of it—especially if you’re using the latest version of Adobe Photoshop on your computer or tablet.
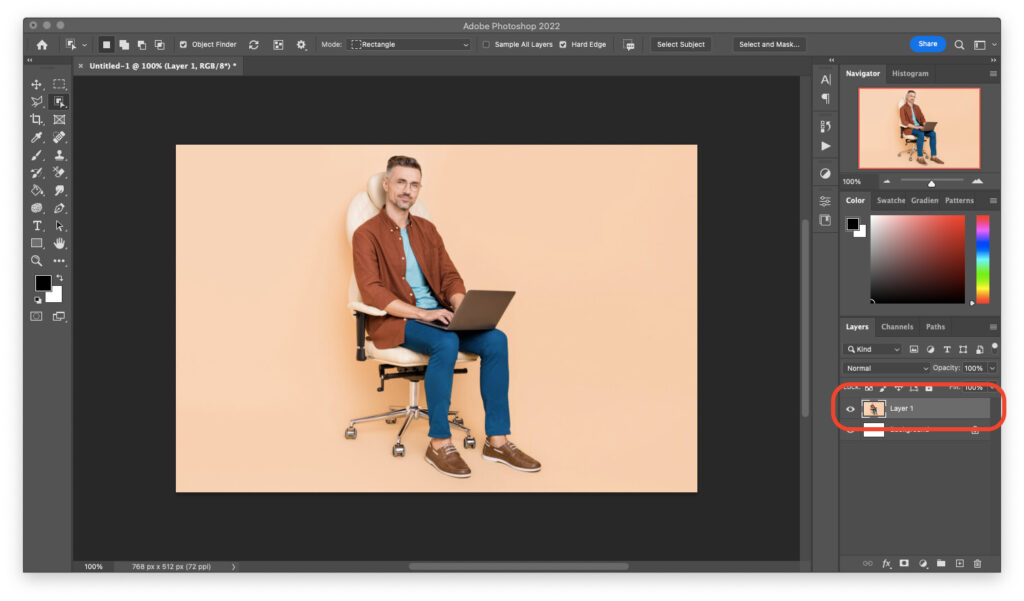
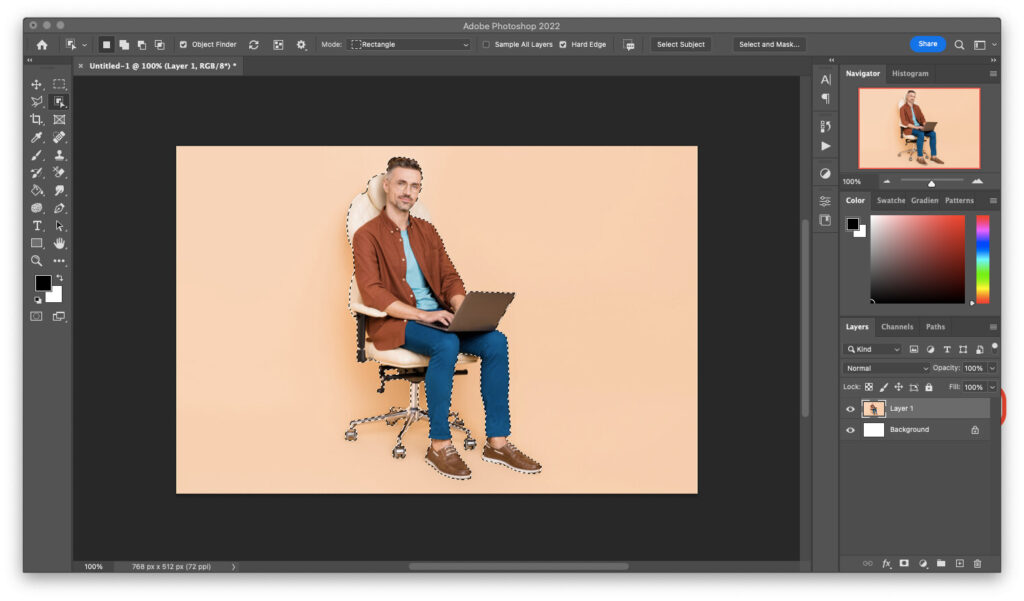
Step 1: Select the Object Selection Tool from the “Tools” window.

Step 2: Make sure that the layer that contains the wrongly-merged design element is selected in the “Layers” window.

Step 3: Use the tool to select the part of the image that you want to select, then click Control + Z on Windows or Cmd + Z on macOS to cut it.

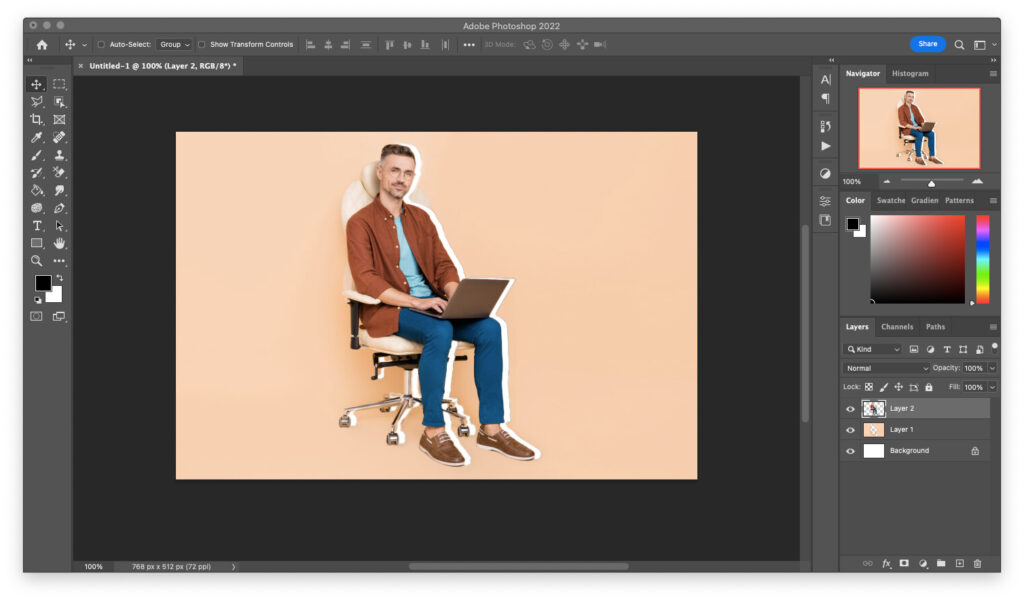
Step 4: Press Control + V on Windows or Cmd + V on macOS to paste the layer back into your canvas. The layer will be slightly offset compared to the original; position it accordingly.

As soon as you’ve cut and pasted the design object from the old layer to the new layer, you’re pretty much all set to go!
Final Words
If you just merged two layers by mistake, you can always reverse that merge with the Undo action or by going back to the History pane.
If the merge was done too long ago and Photoshop doesn’t show it in the History pane, you’ll have to opt for a workaround.
By far the best of them is to use the Object Selection Tool to select the object you’d like to select, then cut and paste it into a new layer.

