
Excited about ClickFunnels 2.0? I know I was when I first saw it!
The new and improved ClickFunnels is a big step forward from the ClickFunnels you already know and love. But as intuitive as it is, it may take you a while to get used to the new interface and figure out how to use it.
At least that was the case with me. When I first accessed ClickFunnels 2.0, I got stuck on a number of steps. Over the next few days, I’ll write instructions for each of those steps so you can get out of a jam faster than I did.
Steps like…
Change a User’s Role in ClickFunnels 2.0
Assuming you’ve already added a user to your ClickFunnels 2.0 account, the steps below will show you how to change their role.
Step 1: Fire up your favorite web browser, go to myclickfunnels.com, and sign into your account.
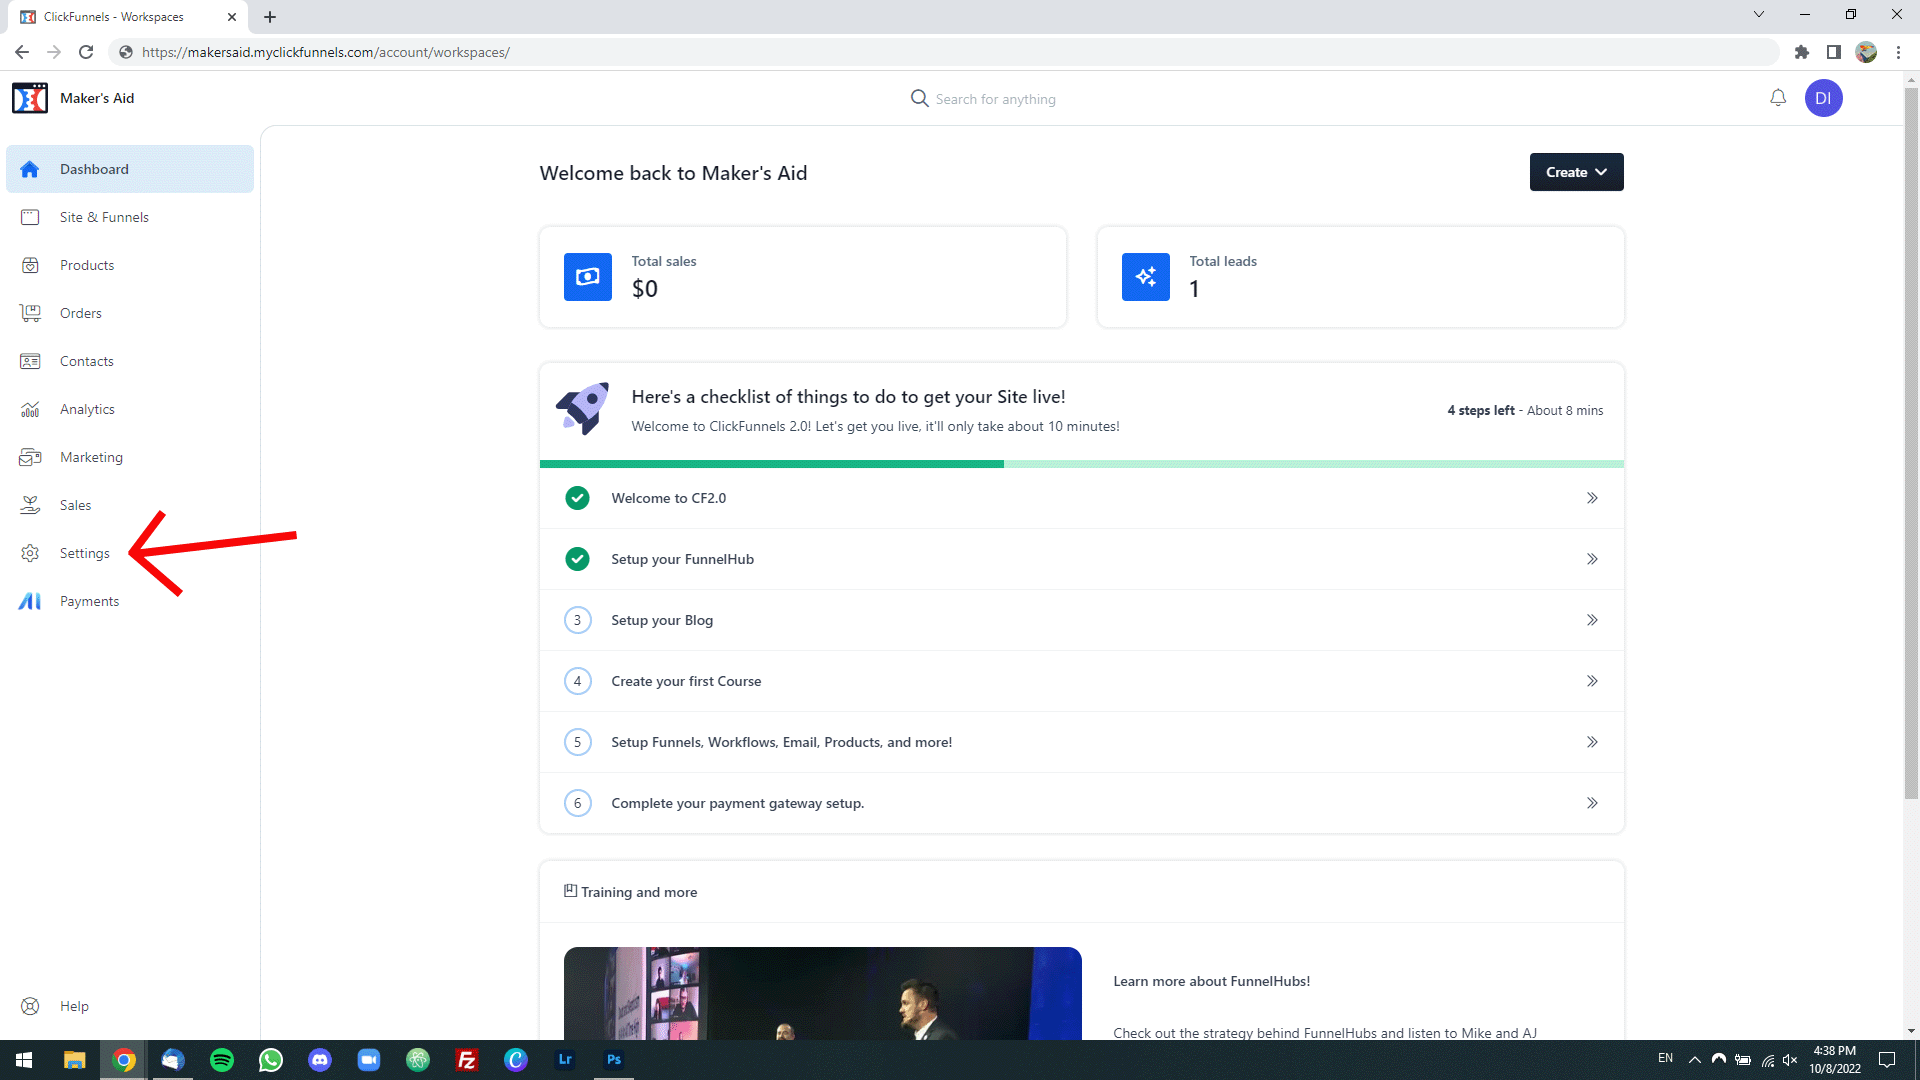
Step 2: Go to “Settings” at the bottom of the left sidebar.
Step 3: Go to the “Collaborators” tab, this time at the top of the left sidebar.

Step 4: Find the user whose role you want to change. Expand the dropdown menu in the “Role” column next to their name and assign them the role(s) you want.

You’re all set!
When you add or remove a user from a role, ClickFunnels 2.0 automatically saves your changes so you don’t have to look for a “Save” button (there isn’t one!).
Remember, a user in ClickFunnels 2.0 can have multiple roles.