Canva is the best graphics editor around, especially if you own a WordPress website and you don’t know how to use more advanced tools, like Adobe Illustrator or Adobe Photoshop.
You can use it for all of your graphic design needs, from creating a logo for your website to designing eye-catching featured images and infographics to add to your pages’ and posts’ content.
Related: Can I Use Canva Images on My Blog or Website?
But if you’ve never done it before, you might be wondering: How exactly do you export a Canva design and import it into your WordPress website?
This tutorial will show you how to do this, step-by-step and with screenshots.
So read on!
Upload Your Canva Design as a Featured Image
Many WordPress themes allow you to add featured images to your pages and posts. These featured images appear next to the title of the page or post on your site’s home page, as well as in the category, tag, author, and date archives.
To upload your Canva design as a featured image in WordPress, follow the steps below.
Step-by-Step Guide
Step 1: Fire up your browser, go to Canva.com, log into your account, and create or open the Canva design you’d like to upload as a featured image in WordPress.
(If you’re about to create a design from scratch, I recommend using the “Blog Banner” template; the one with dimensions of 2,240 x 1,260 px.)
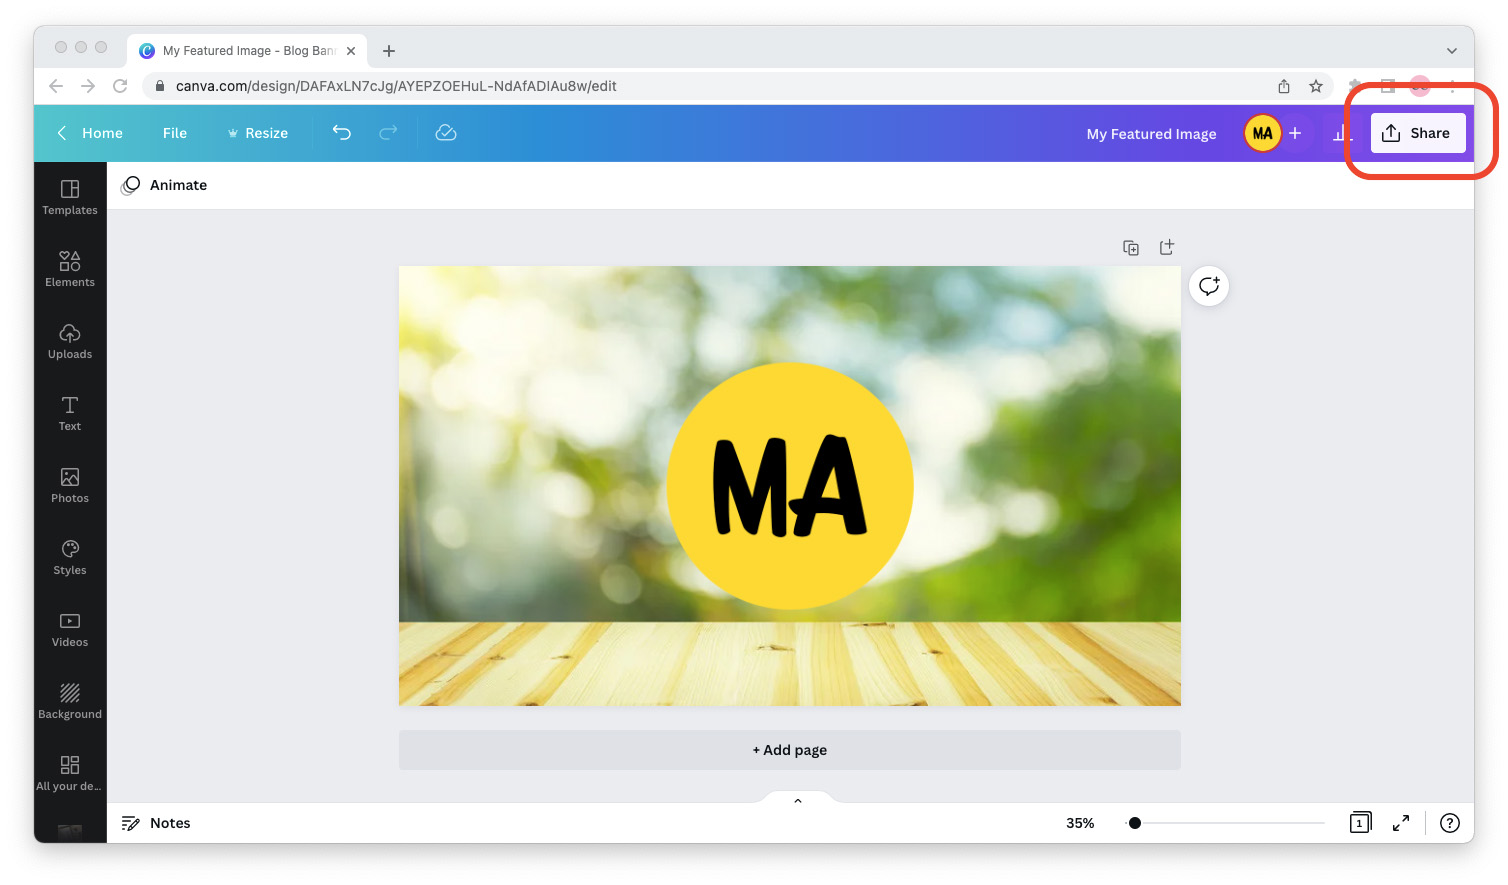
Step 2: When your Canva design is ready for exporting, click the “Share” button in the upper right corner of the screen.
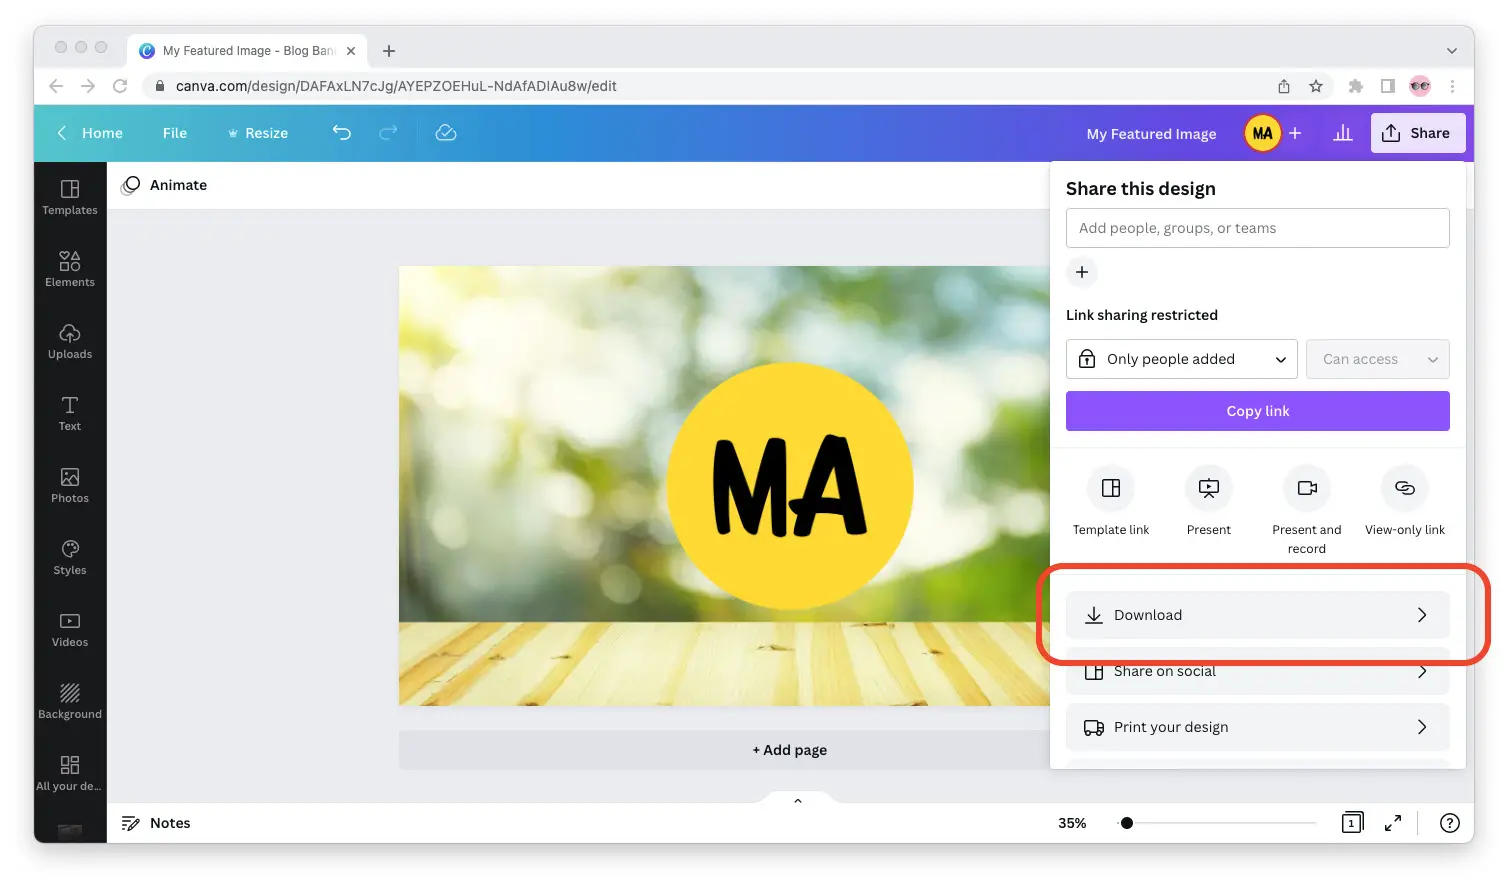
Step 3: The “Share this design” dialog window will pop up on the right side of the screen. Click the gray “Download” button.
Step 4: Next, Canva will ask you about the type, size, and quality of the file you want to export your design in.
For best results, set “File Type” to “JPG,” leave the size as is, and make sure “Quality” is set to 80 percent. This way your image will look good enough without being overly heavy (and slow to load).
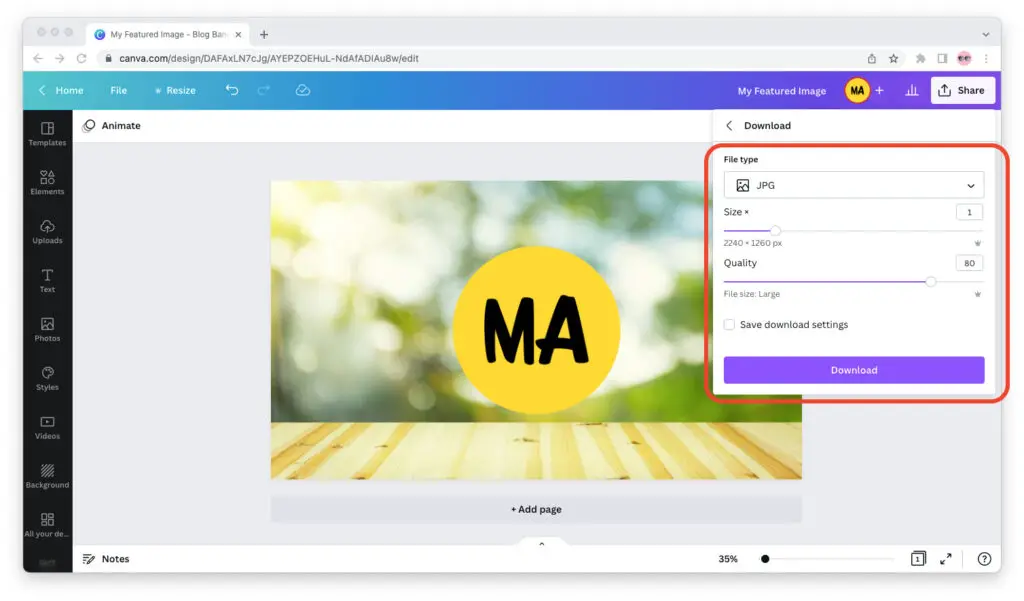
Click the purple “Download” button, and your Canva design will download as a JPG file to your device.
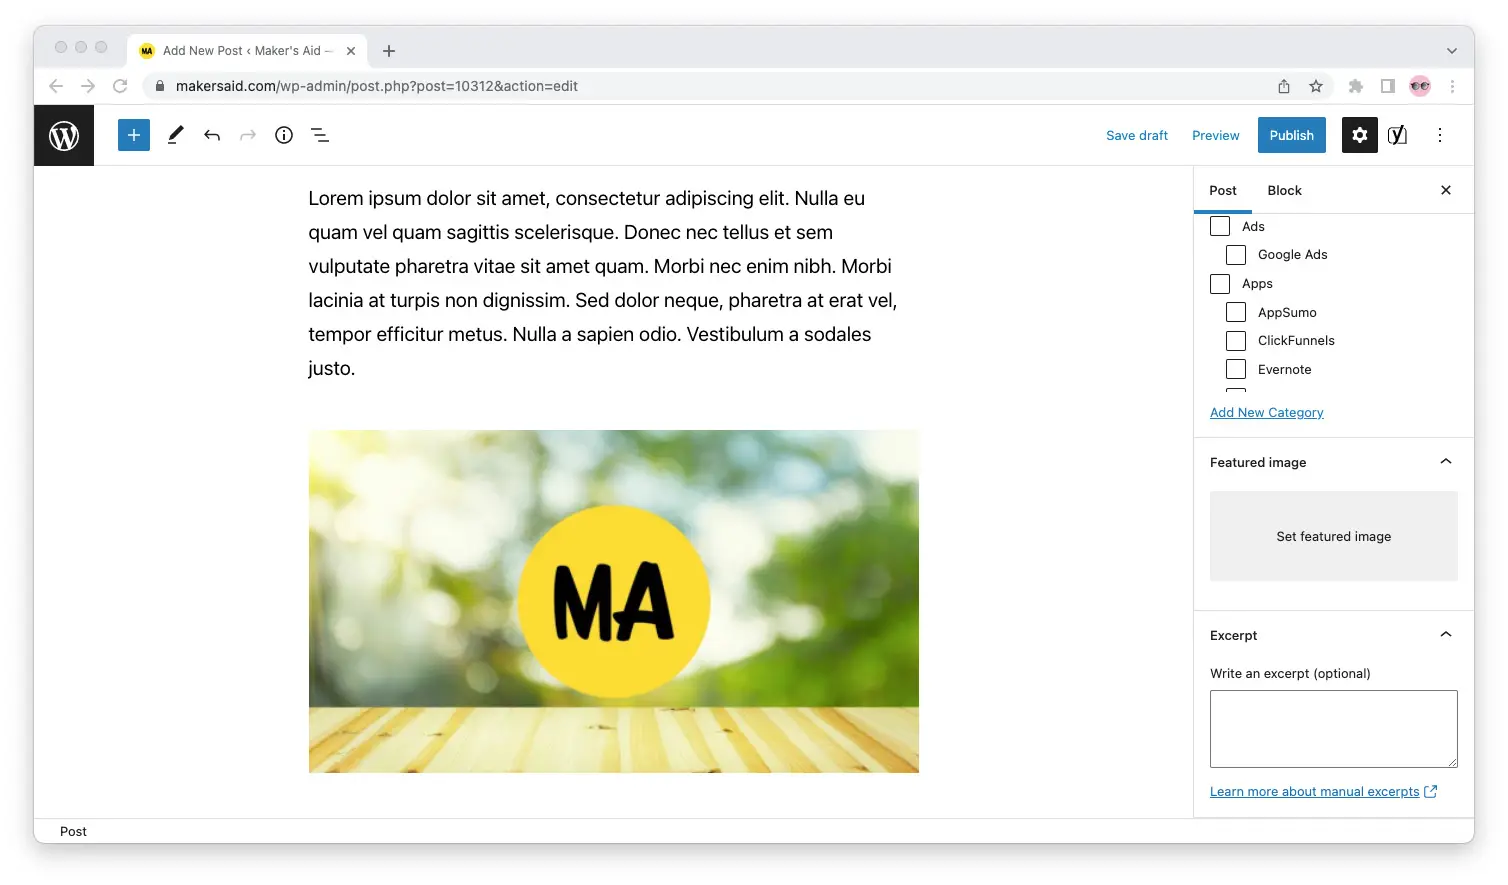
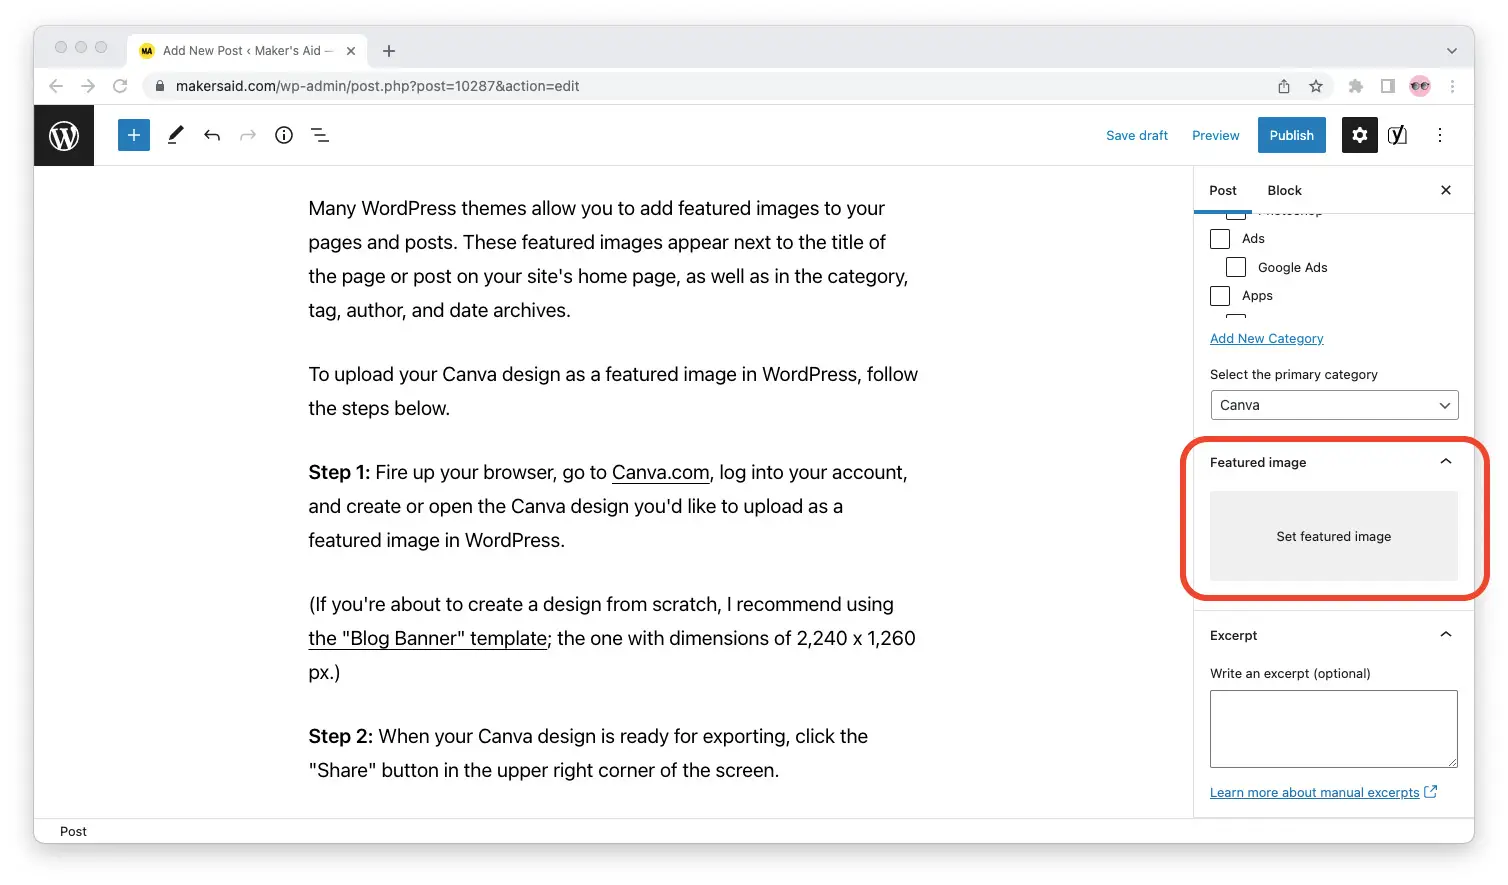
Step 5: Go to your WordPress website’s admin panel, open the Gutenberg editor for the page or post that you want, and then drag and drop the JPG file to the “Set featured image” rectangle in the sidebar.
Step 6: You’re all set! Instead of that gray rectangle that says “Set featured image,” you should now see a preview of your Canva design in the Gutenberg editor for your page or post.
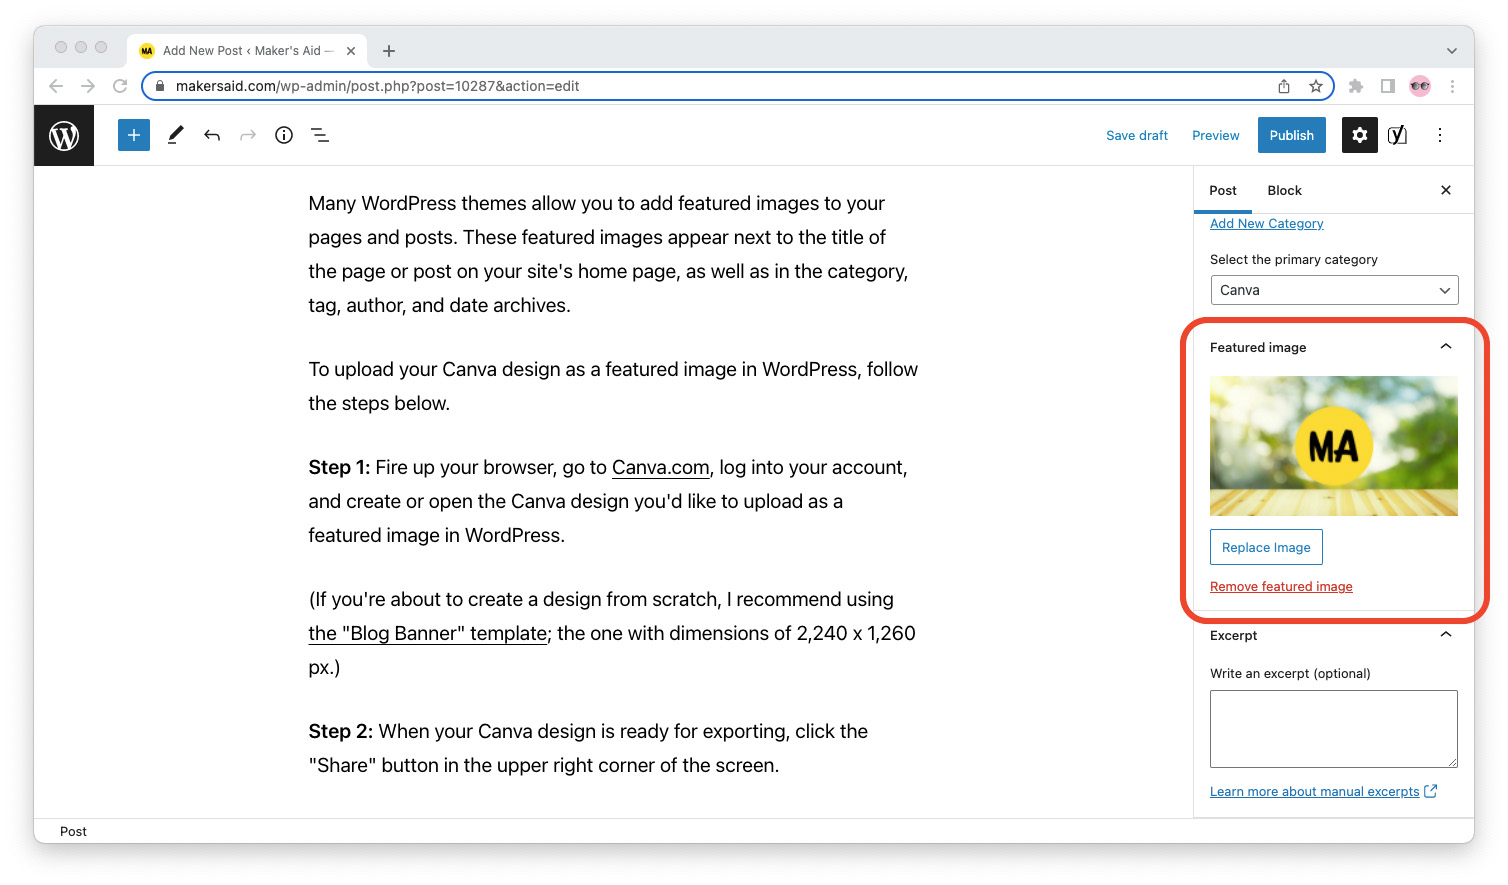
You can also click the “Preview” link from the top navigation menu to verify that your page’s or post’s featured image is showing as it should.
Upload Your Canva Design as an Image Inside a Page or Post
A featured image is displayed next to the title of your page or post on the WordPress home page and archive pages. But what if you want to include an image—or maybe a few—in your page or post, just like the screenshots you can see in this post?
Follow steps 1 through 4 from the guide above to export your Canva design as a JPG file.
Once you’ve saved your Canva design as a JPG file on your device, do the following.
Step-by-Step Guide
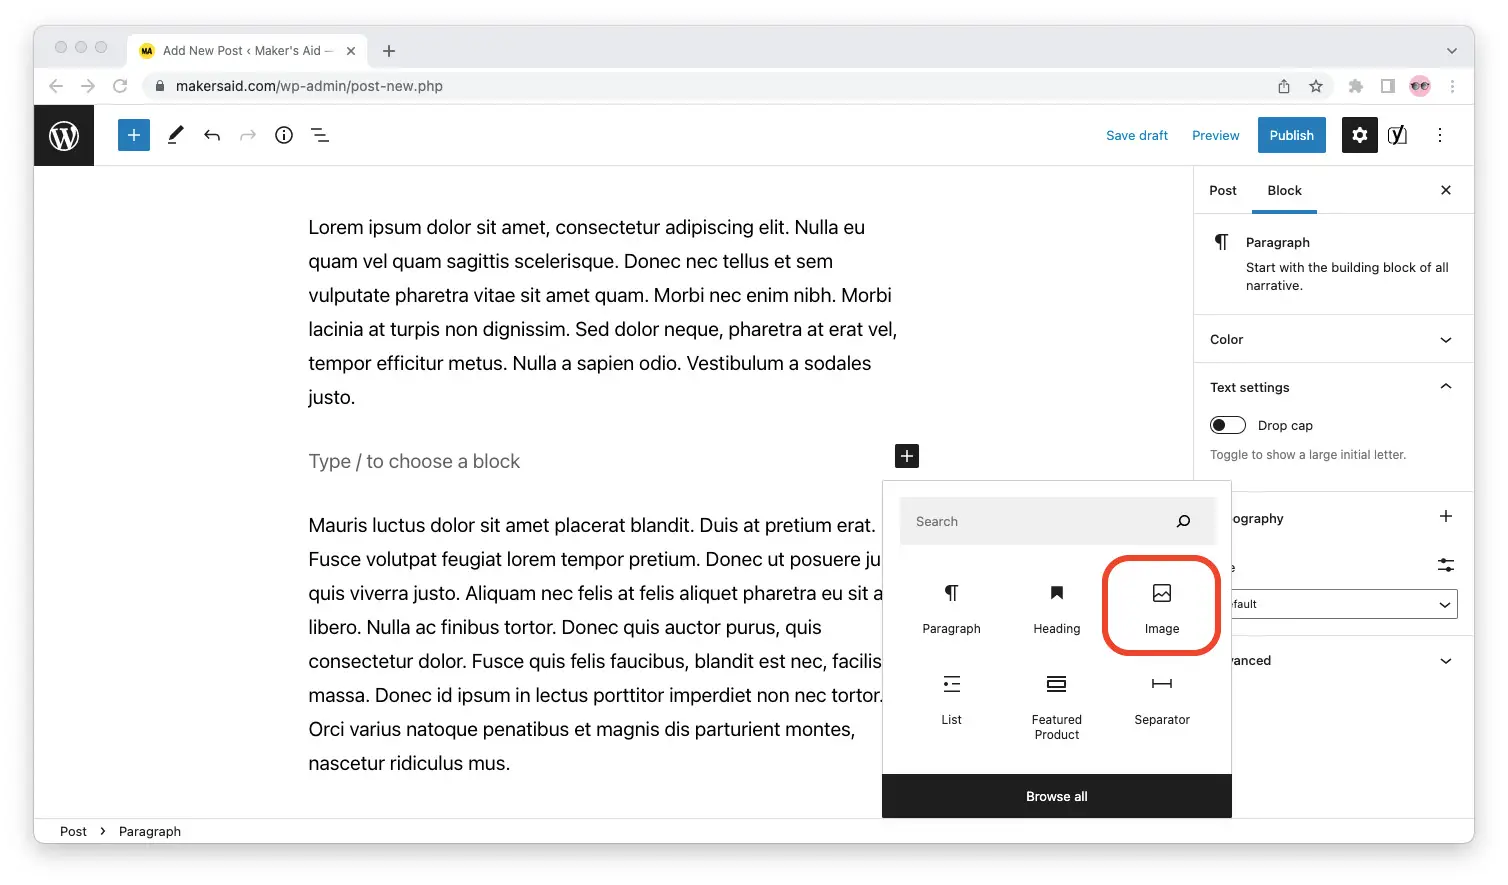
Step 1: Press the “Enter” key on your computer’s keyboard to start a new line. Then hit the plus button and insert an “Image” block in your page or post’s content.
Step 2: WordPress will insert an image block in your page’s or post’s content.
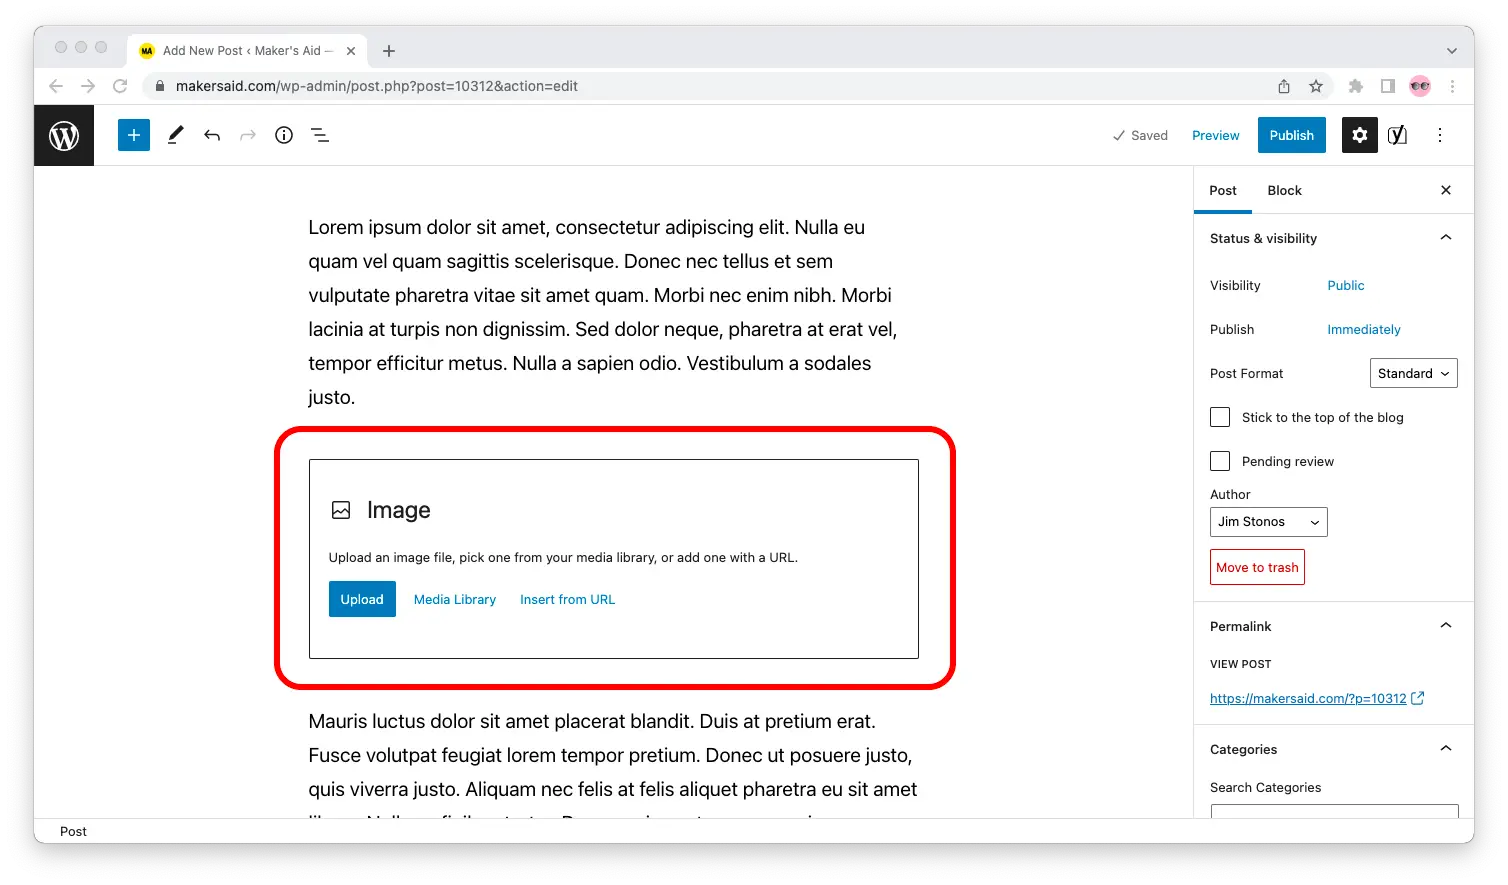
Click the blue “Upload” button or drag and drop your image inside the rectangle to upload it to the contents of your page or post.
Step 3: You’re all set! Once the image has finished uploading to your WordPress website, you will see a preview of it right in the Gutenberg editor.