
Creating beautiful, eye-catching mock-ups for your products has never been this easy: All you need to do is sign up for Canva (if you don’t already have an account) and follow the steps in this tutorial.
Step 1: Fire up your favorite web browser and go to Canva.com.
Or open the Canva app on your desktop if you prefer to work there and you have it installed.
Step 2: Sign up for Canva or sign in to your existing account.
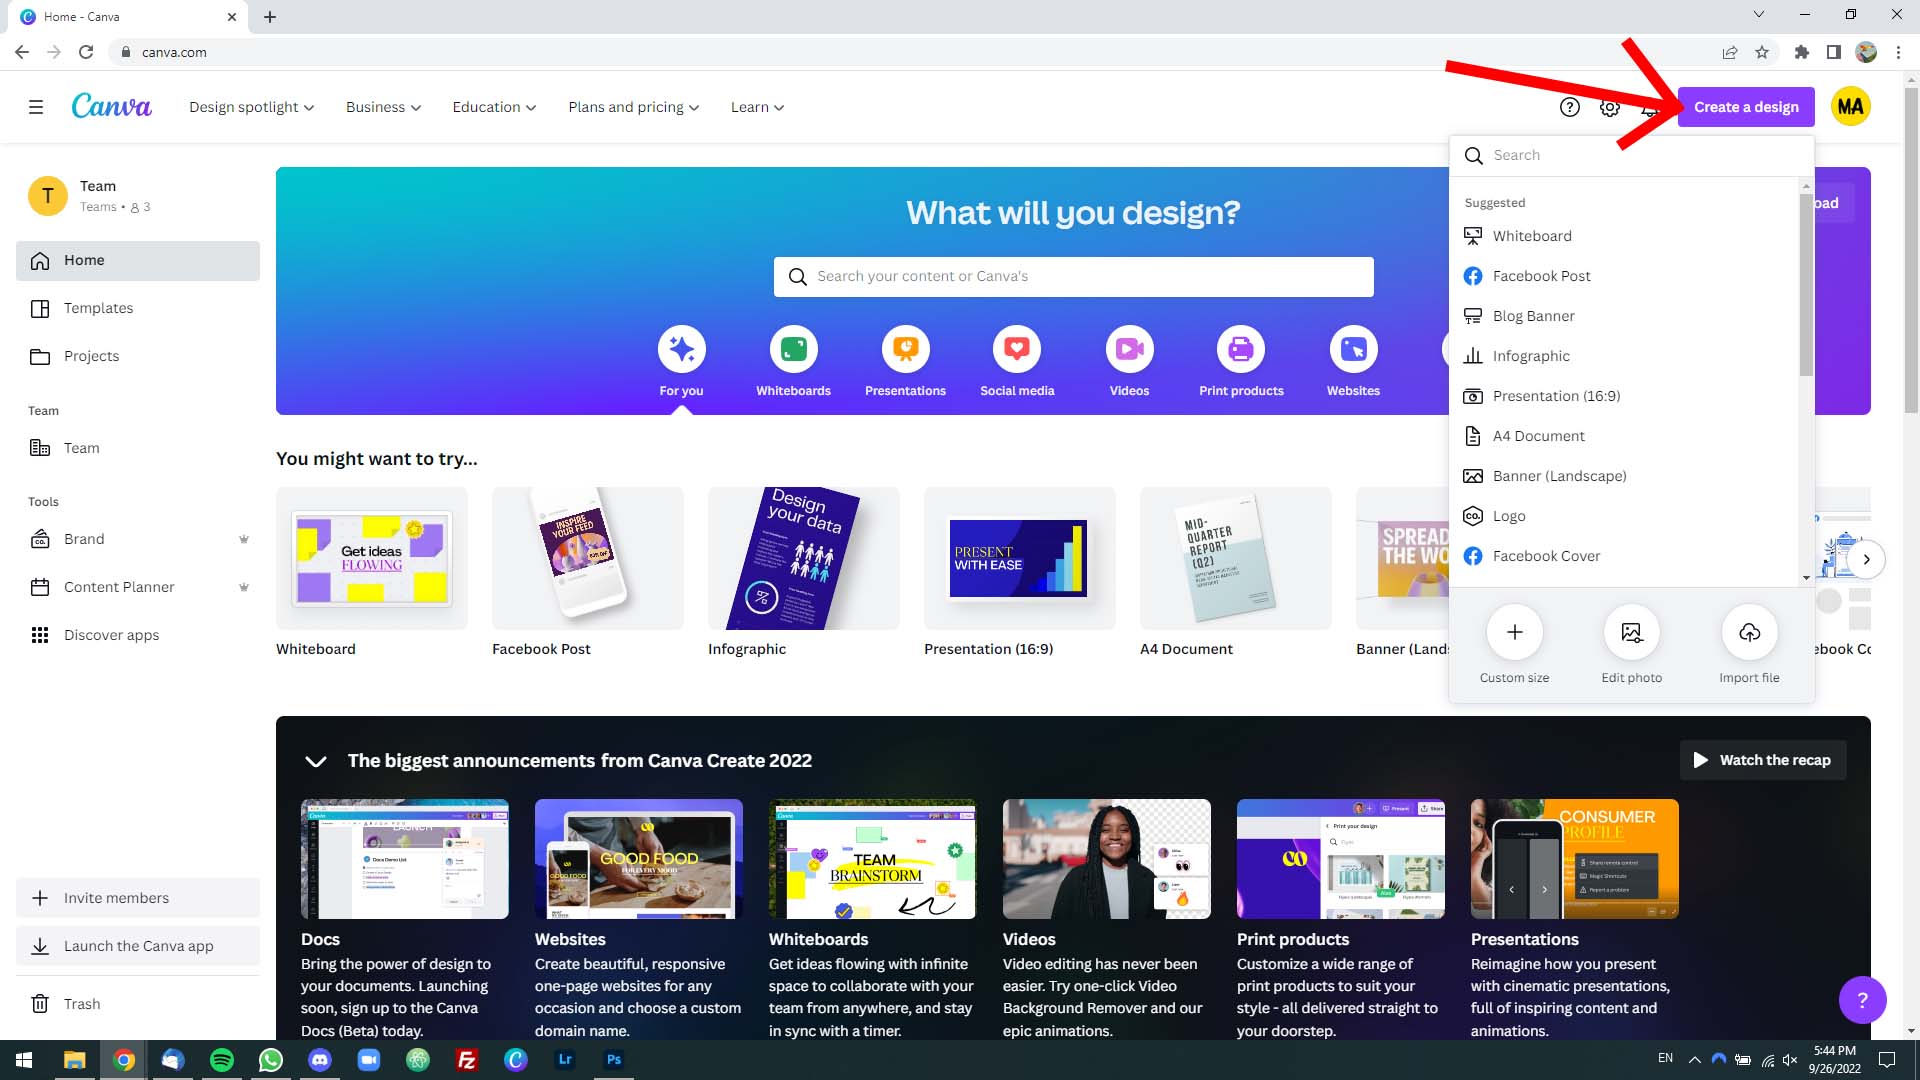
Step 3: Click on the purple “Create a new design” button in the upper-right corner of the screen.
Step 4: Search for a predefined size (say, a presentation, an Instagram post, an A4 document) or enter a custom size by setting the width and height in pixels.
Canva will then create a new design for you.
Step 5: Find the image file that you want to place in a mockup on your computer (using File Explorer on a Windows PC and Finder on a Mac).
Step 6: Now drag and drop the image file into your Canva design, and then allow it a few seconds to upload and show.

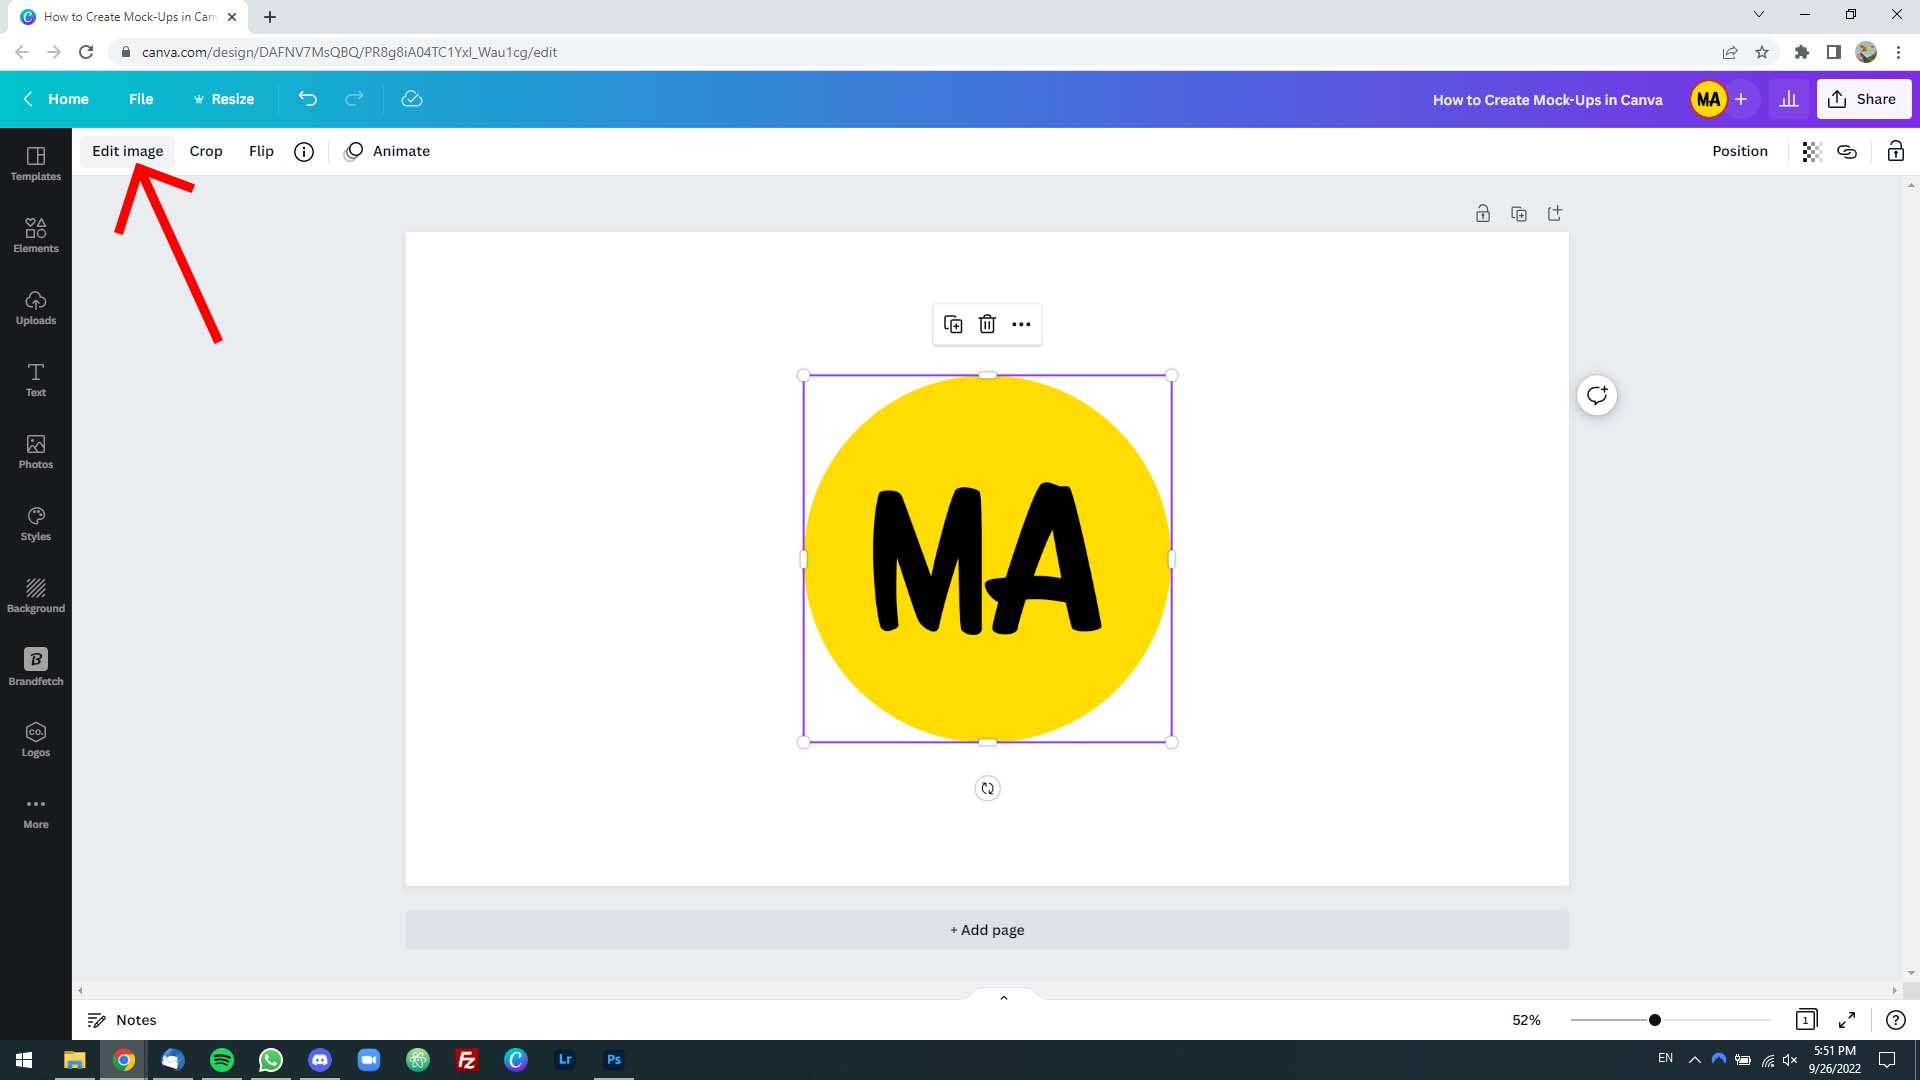
Step 7: Select the image and click on the “Edit image” link on the left side of the top bar.
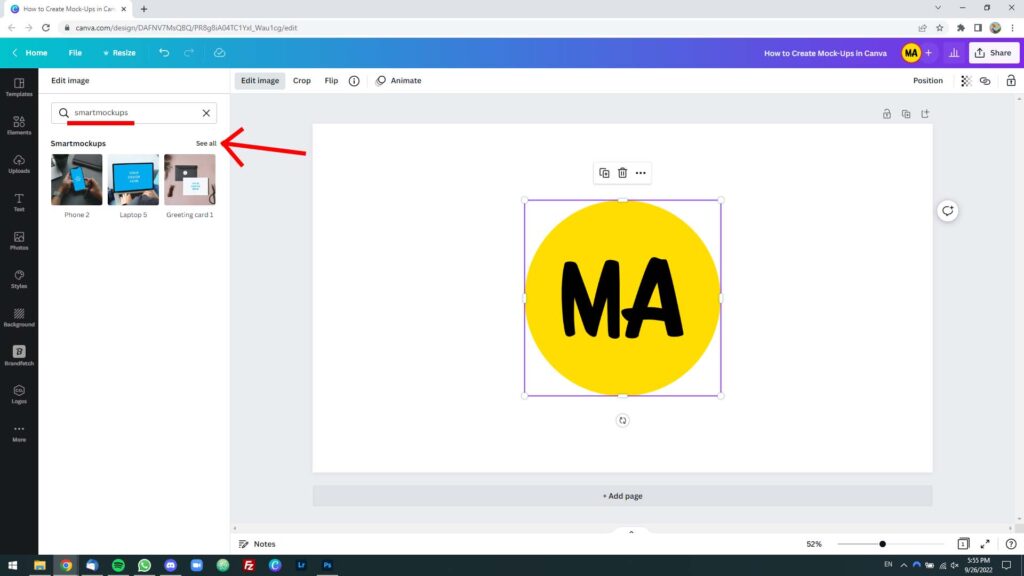
Step 8: Type “smartmockups” (without the quotes) into the search form in the “Edit image” sidebar, then click on the “See all” link.
Step 9: Try a few mockups until you come to the one you like.
Your mockup may look oddly sized at this stage. Don’t worry, you’ll resize it shortly.
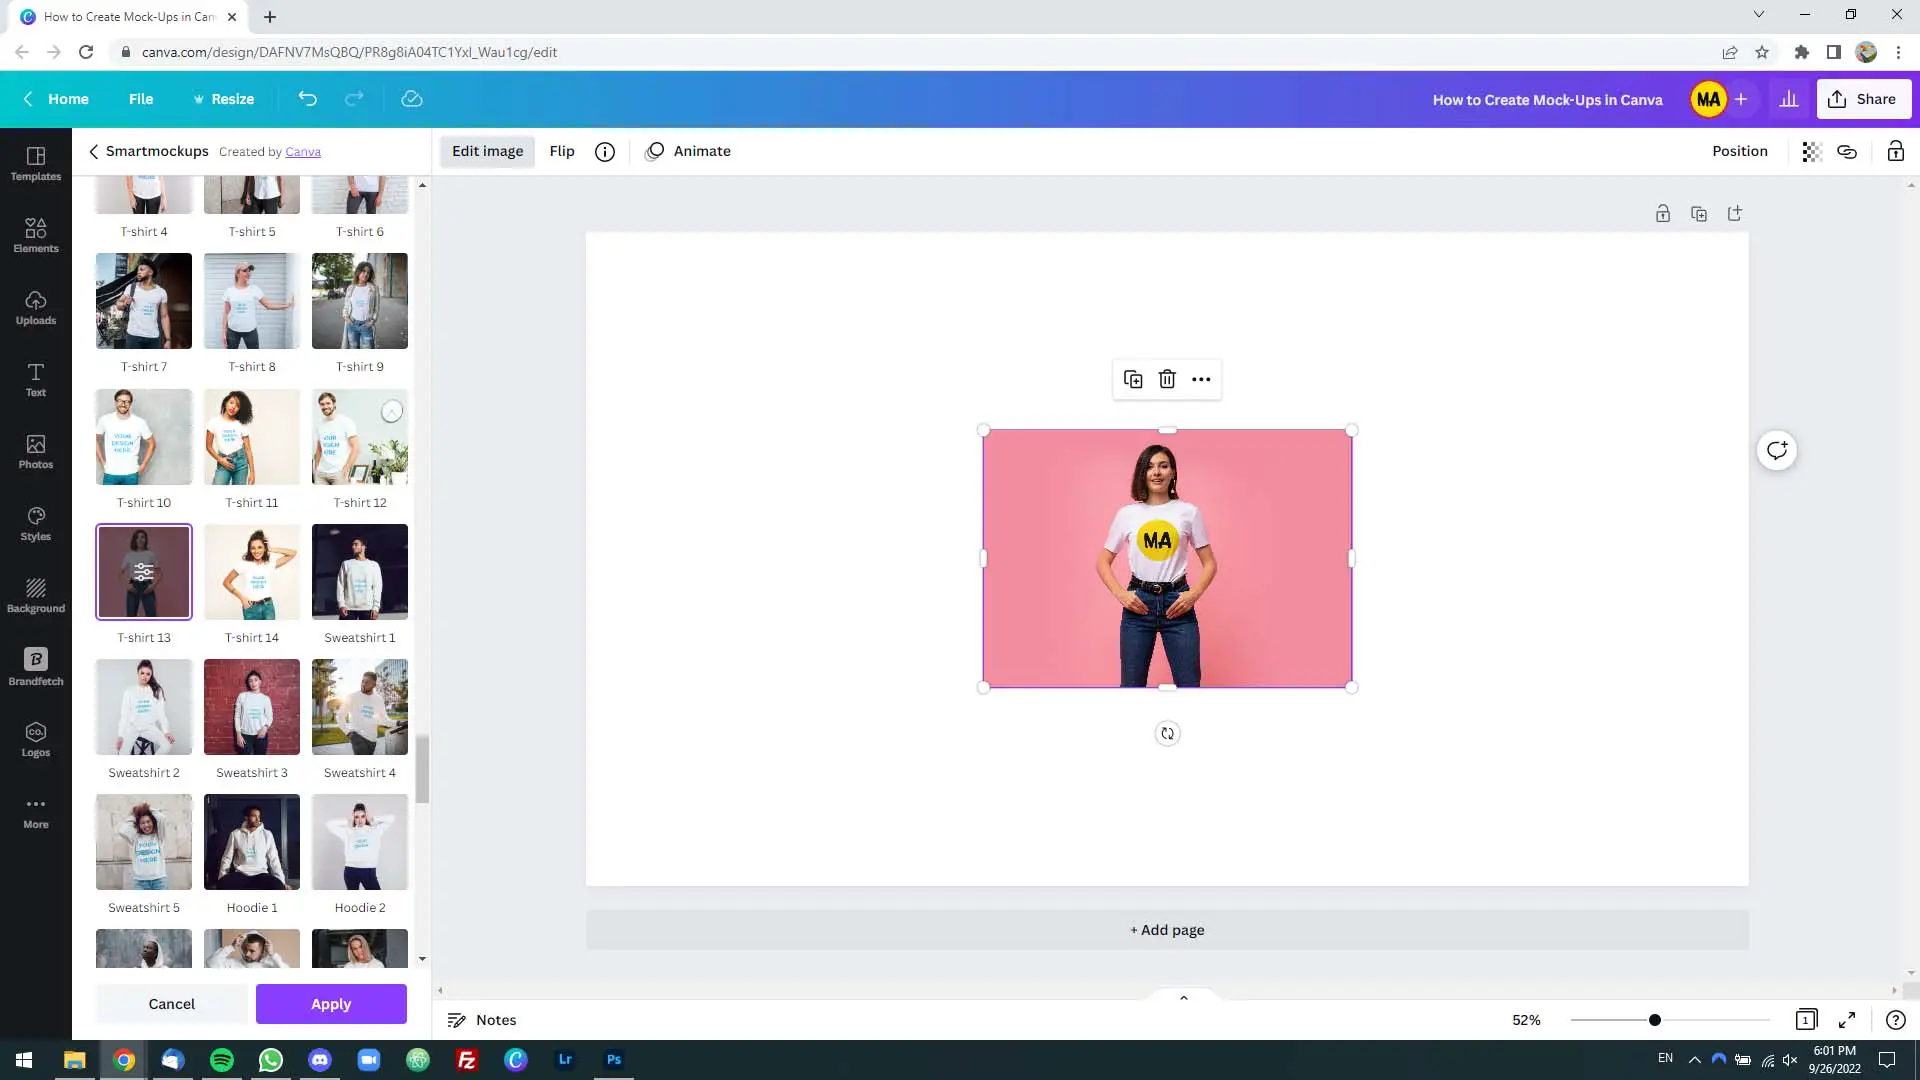
Step 10: To adjust the size and position of your original image in the mockup, click the settings icon in the mockup preview in the left sidebar, and then, under “Crop,” select Fill > Custom.

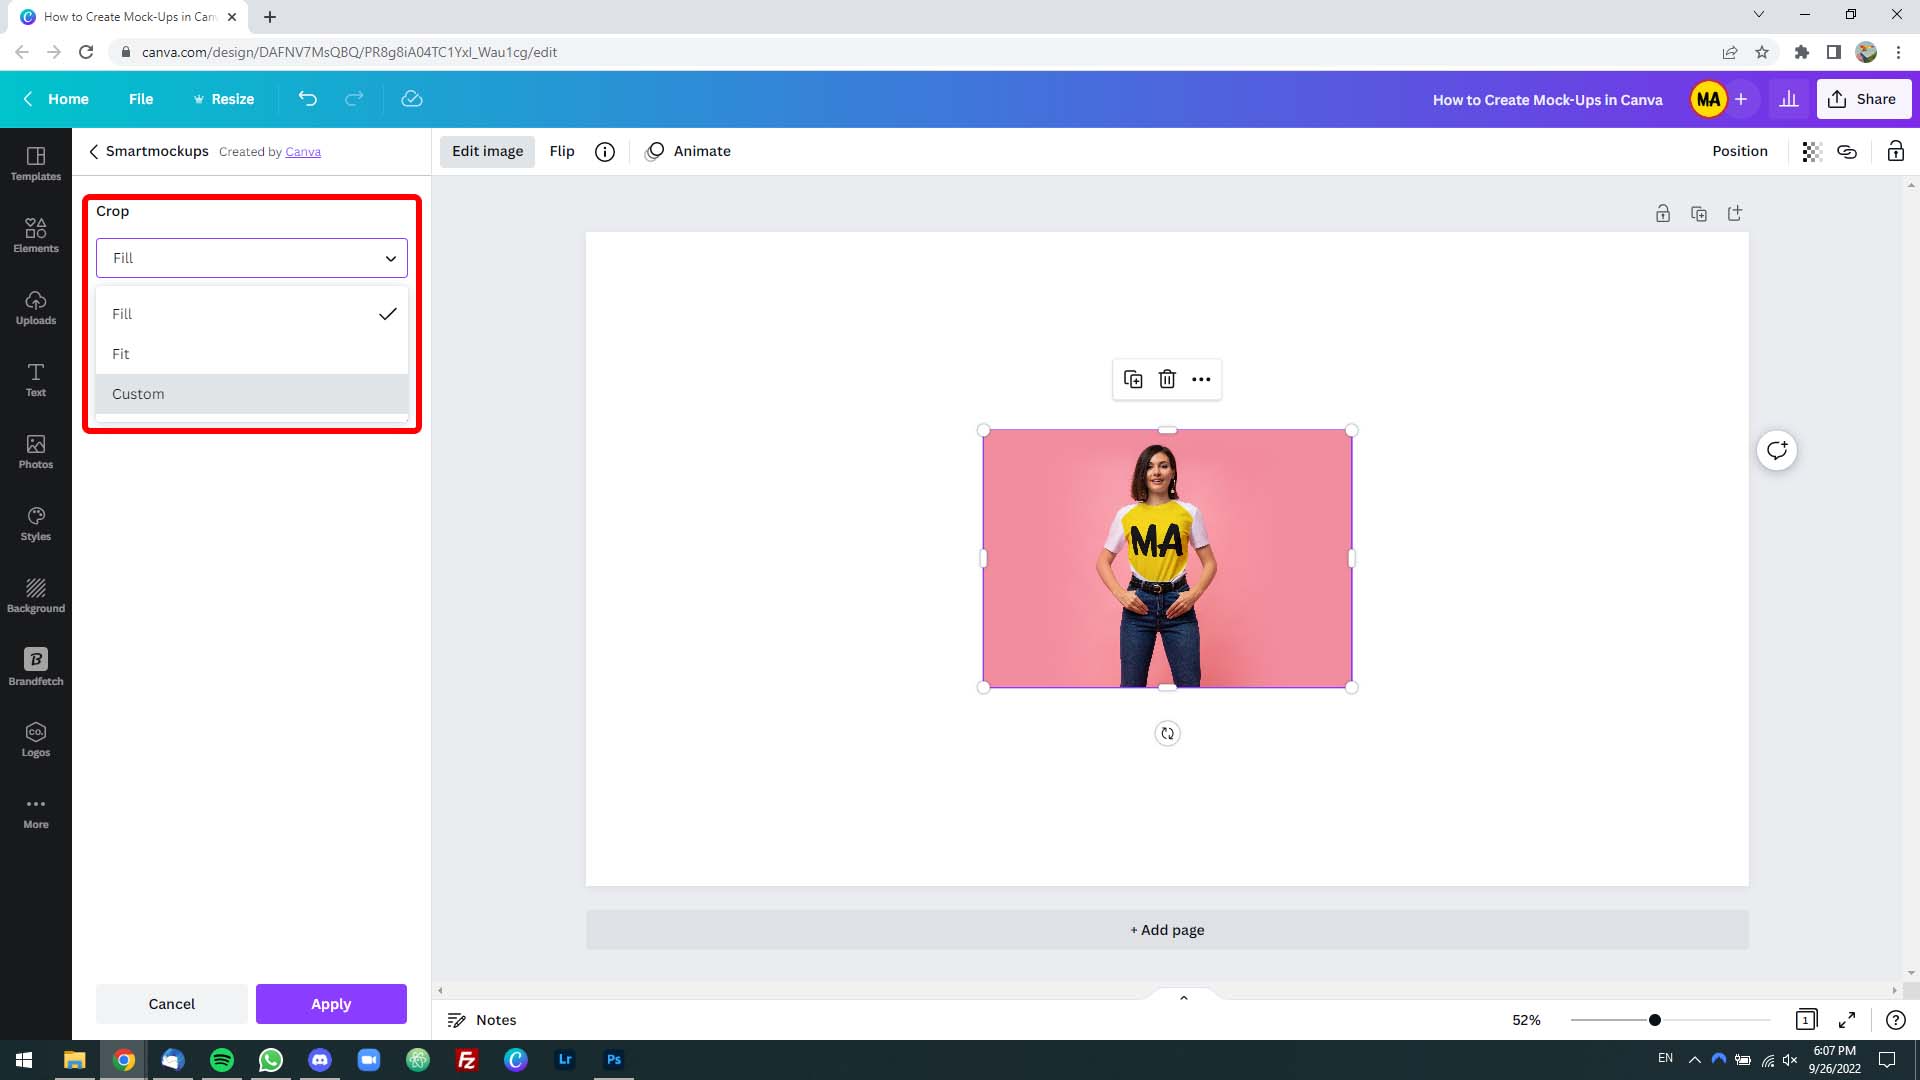
Step 11: Adjust the horizontal position, vertical position, and image size to your liking, then click on the purple “Apply” button.
Step 12: Scale your newly created image so that it takes up the entire Canva design.
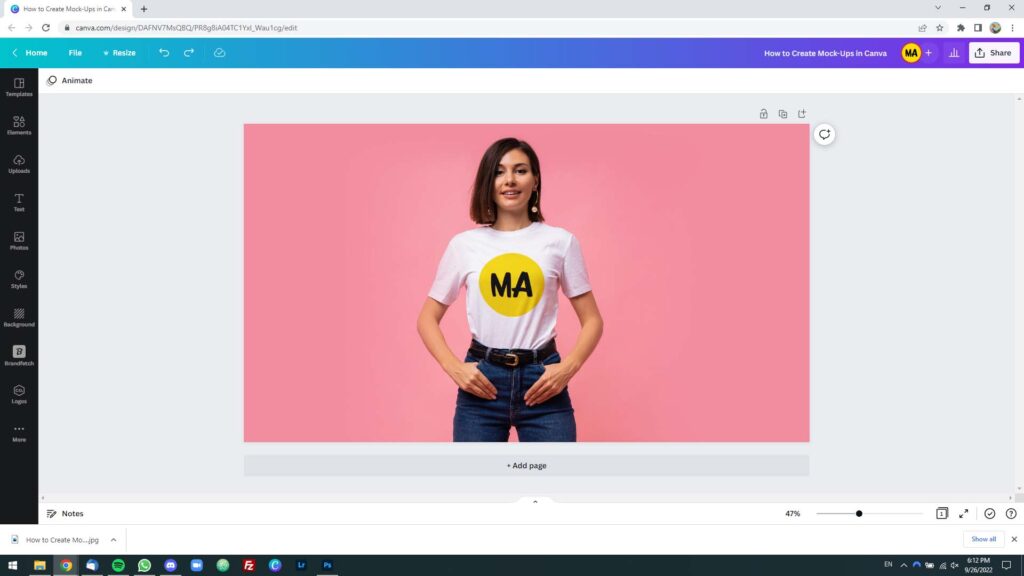
Step 13: You’re all set!
Now click on the “Share” button in the upper-right corner of the screen and export your mockup in the format you need it.