Right now, Canva is the most popular tool for creating flyers, journals, planners, posters for print.
Preparing graphics for print, no matter what graphics design tool you’re using, is a little different from publishing them on your social media profiles or blog. There are a number of jargon terms and technical requirements you need to know about to get your graphics ready for printing.
What Is Print Bleed?
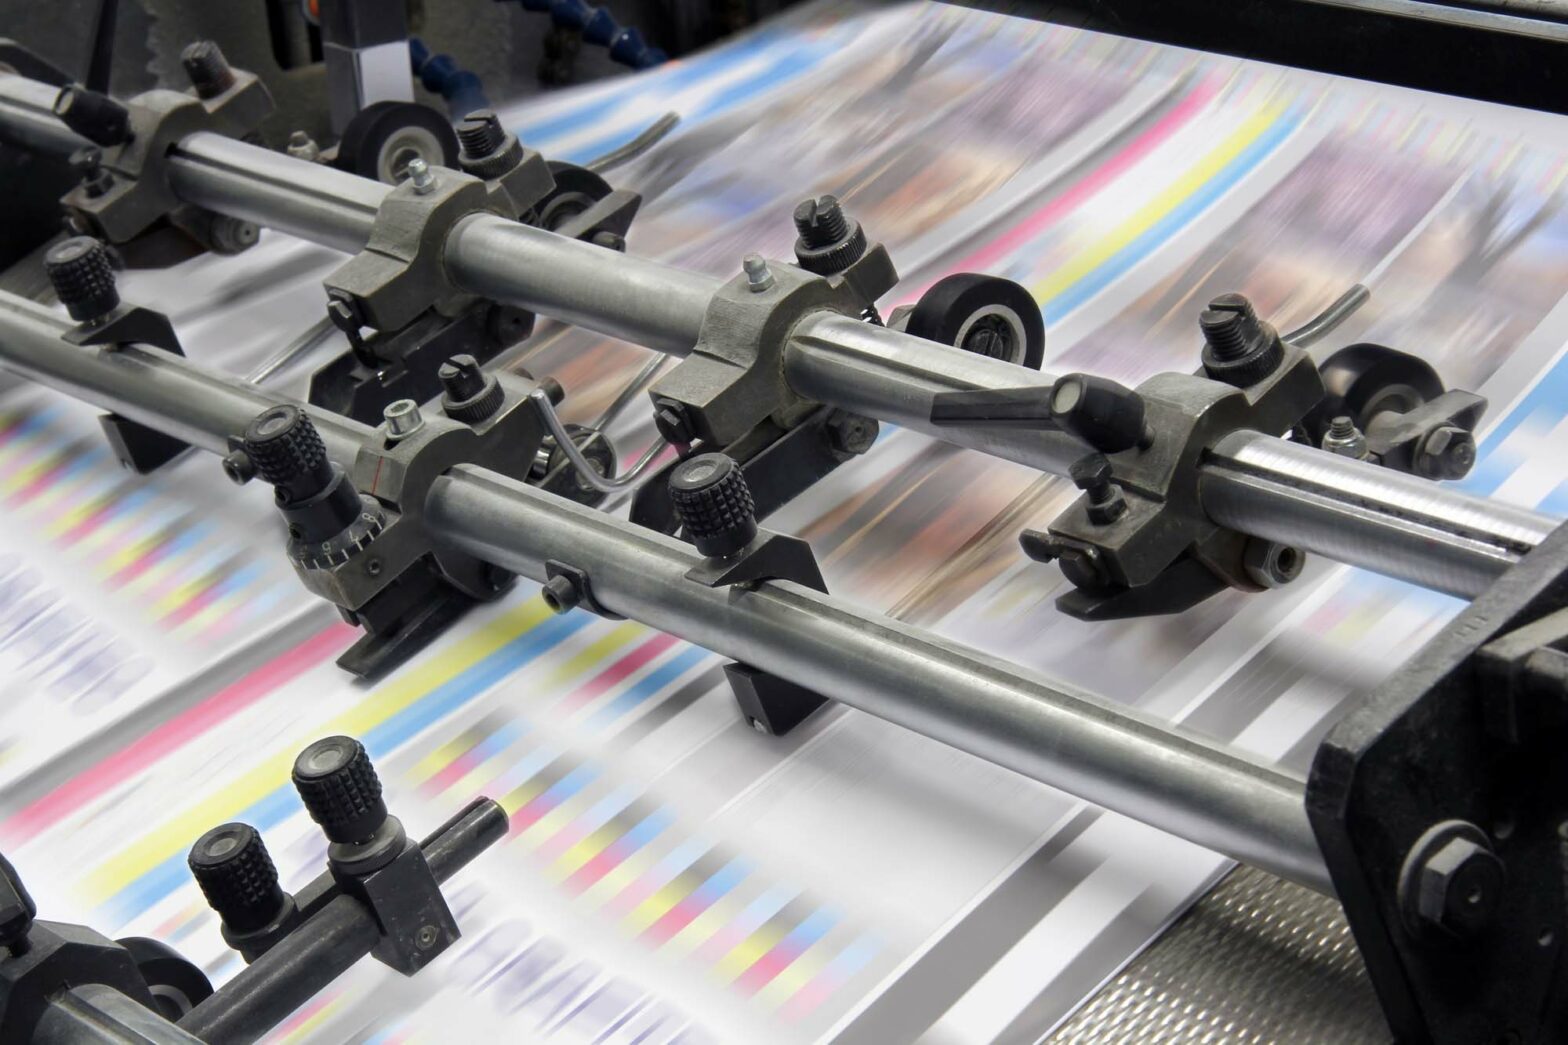
Most printers have rubber rollers that grip each sheet of paper by the edges and feed it to the printing unit.
These rollers enable the printers to pick up paper one sheet at a time and not crumble it, but it also prevents them from printing all the way to the outer edges of each sheet. Printing is also done at high speed, and the process of feeding paper to the printing unit is rarely precise, even when done by a professional.
If your document’s background—or part of your document’s background—isn’t white, it will appear slightly cut off when printed in the exact size you need it to (for example, U.S. Letter stateside or A4 in Europe.)
The only way to compensate for this is to print on a larger sheet of paper and cut it to the desired size after printing so that the background doesn’t appear cut off.
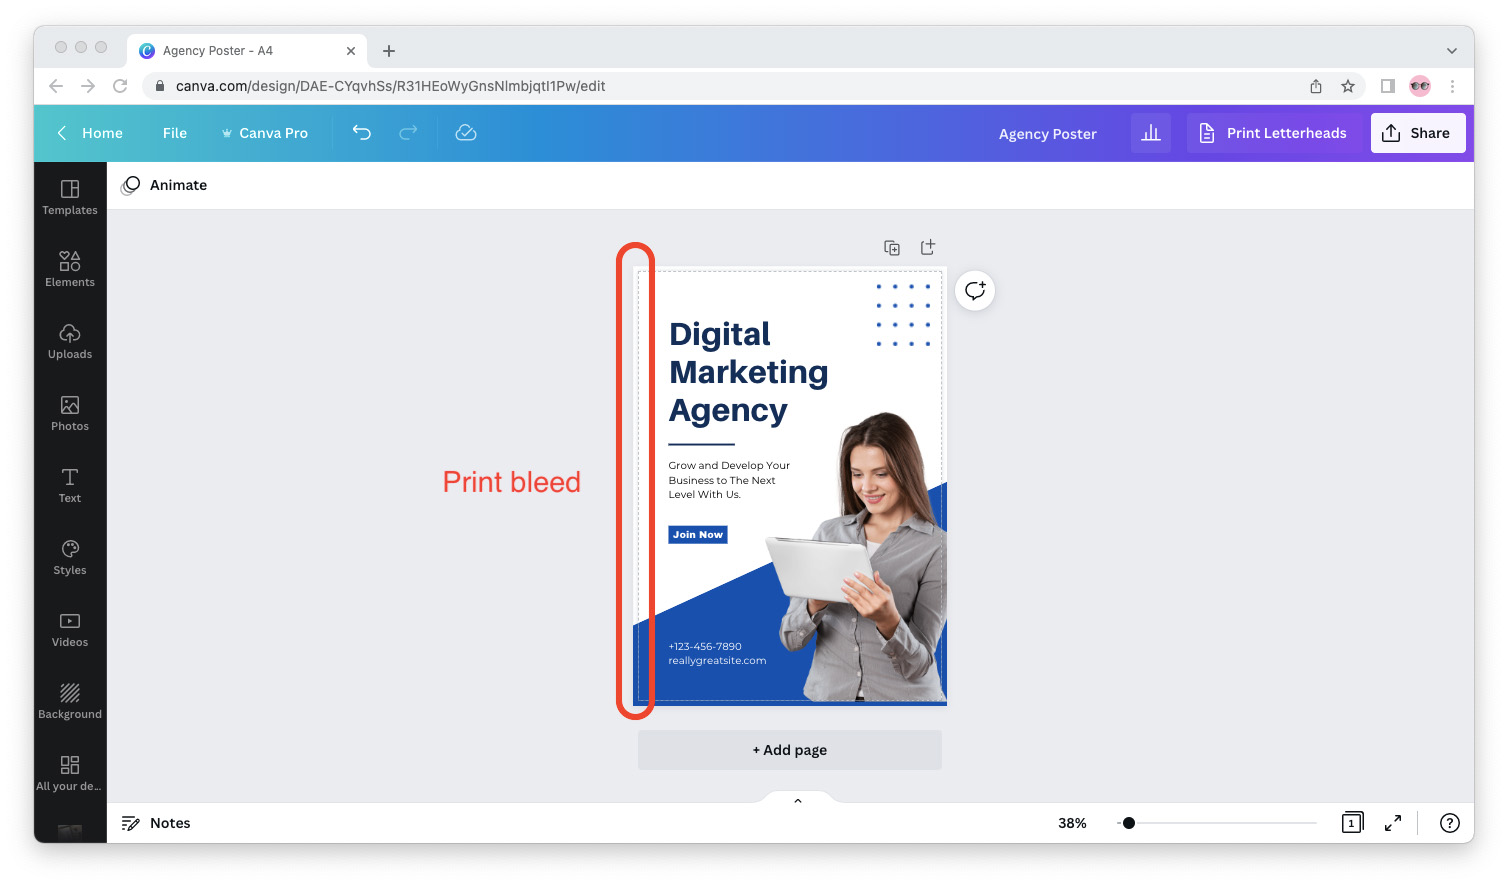
The part of the document that bleeds out from the desired size and gets cut off after printing is called the “print bleed.”
How to show print bleed in Canva:
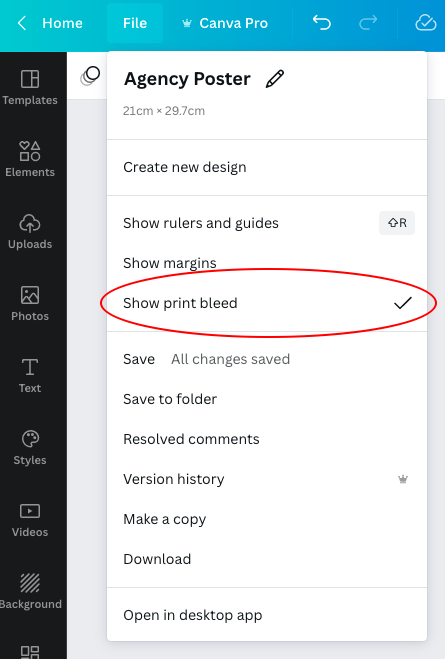
- Open your Canva graphic.
- From the top menu, click “File.”
- Make sure “Show print bleed” is ticked.
How to use print bleed in Canva:
If your document—or a particular design element on that document—is intended for printing and has a background color that’s not white, make sure that background color extends to the end of the bleed.
As long as you’ve made sure of this, the background color won’t appear cut off once the document has been printed and the sheet of paper has been cut to the desired size.
Crop Marks and Print Bleed in Canva
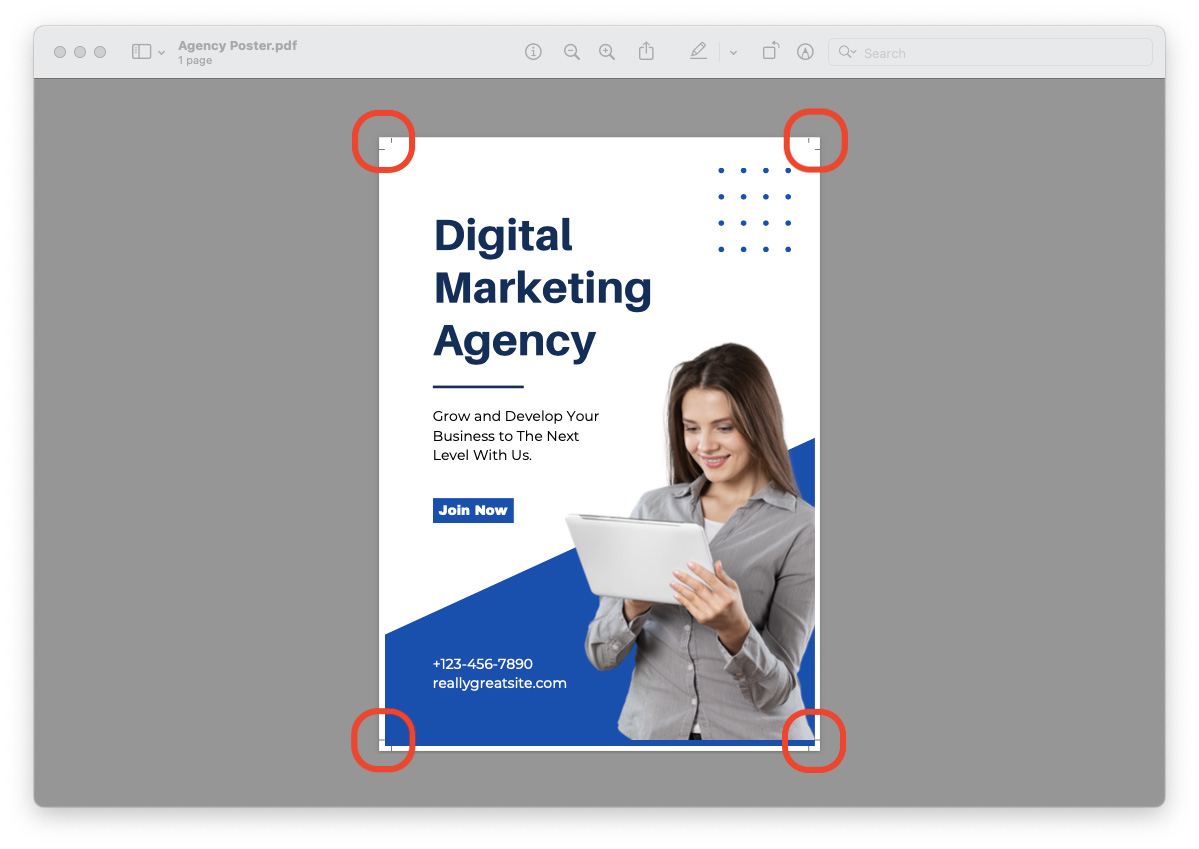
If you want to print a document designed in Canva, make sure you designed it with print bleed and that you downloaded it with crop marks. Crop marks tell the printer where exactly to trim the edges of the paper before the final product is ready.
Don’t skip this step. Most print service providers will reject your document for printing if it doesn’t have crop marks since they can’t guarantee the quality of the final product without it, and you will have to export it a second time—this time properly—and send it to them again.
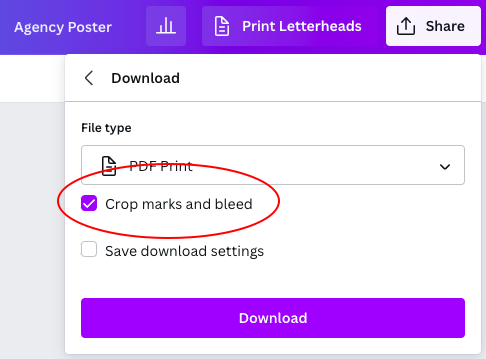
How to download document with crop marks in Canva:
When you download a document as “PDF Print” in Canva, there’s a check box that says “Crop marks and bleed.”
Summing It Up
When designing a document in Canva for print, design it with print bleed and download it with crop marks. Not only will this ensure that your document looks exactly as you envisioned it when printed, but it will save you and your printer time.
If you plan to do this often, add this tutorial to your browser’s bookmarks and come back to it whenever you need a refresher on how to show print bleed and export with crop marks in Canva.